Current projects
Hellboy Golden Army Elemental Egg
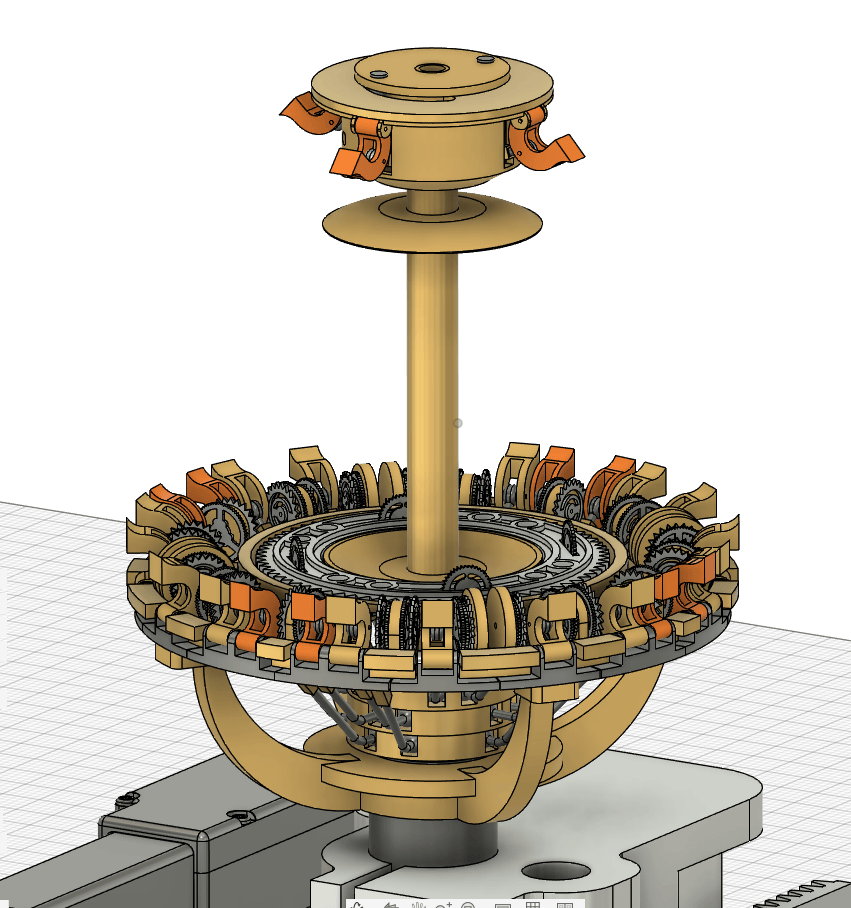
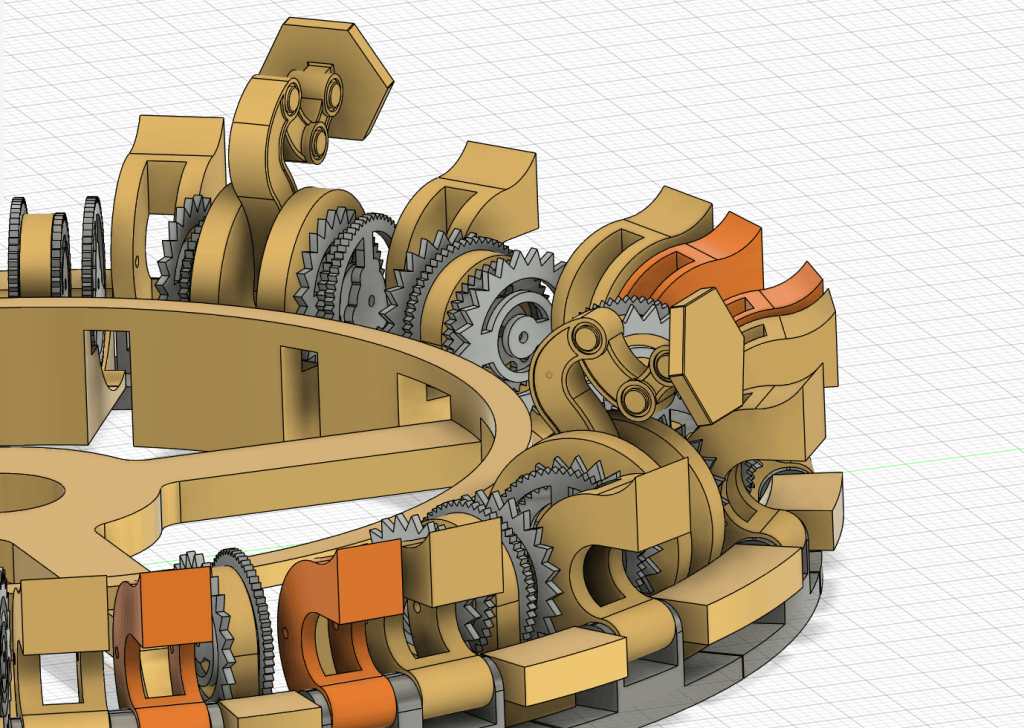
This is a project I’ve had on the backburner on for a while- the opening Elemental Egg from Hellboy II: The Golden Army. This is an extremely complicated piece with LOTS of small parts. There are lots of tiny linkages and parts to make. The vast majority of parts are made from brass and there are definitely going to be a few challenges in getting a precise fit to the shell parts. I have also drawn up a design to make the egg entirely mechanical vs having it powered by servos- but the mechanical egg will have to wait for later.
It is my belief that there were three eggs made for the film: static open, static closed, and a double life sized opening version (used for a forced perspective shot- there was an actuator/release cable exiting the bottom of the egg.)
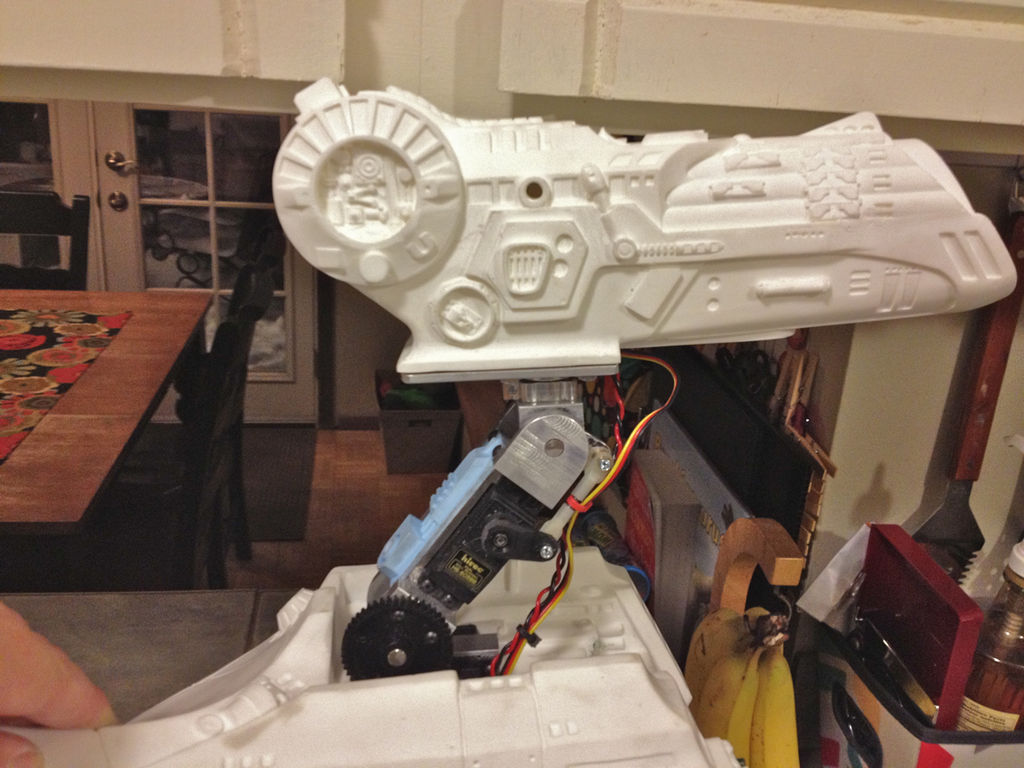
The opening mechanism is based around two small linear servos, which allows for an enclosed base measuring about 150mm square with a height of around 50mm. One servo opens the four upper egg panels and the second servo opens the twenty four lower egg panels. This was the project that inspired me to finally learn CAD -which I did during COVID lockdown.

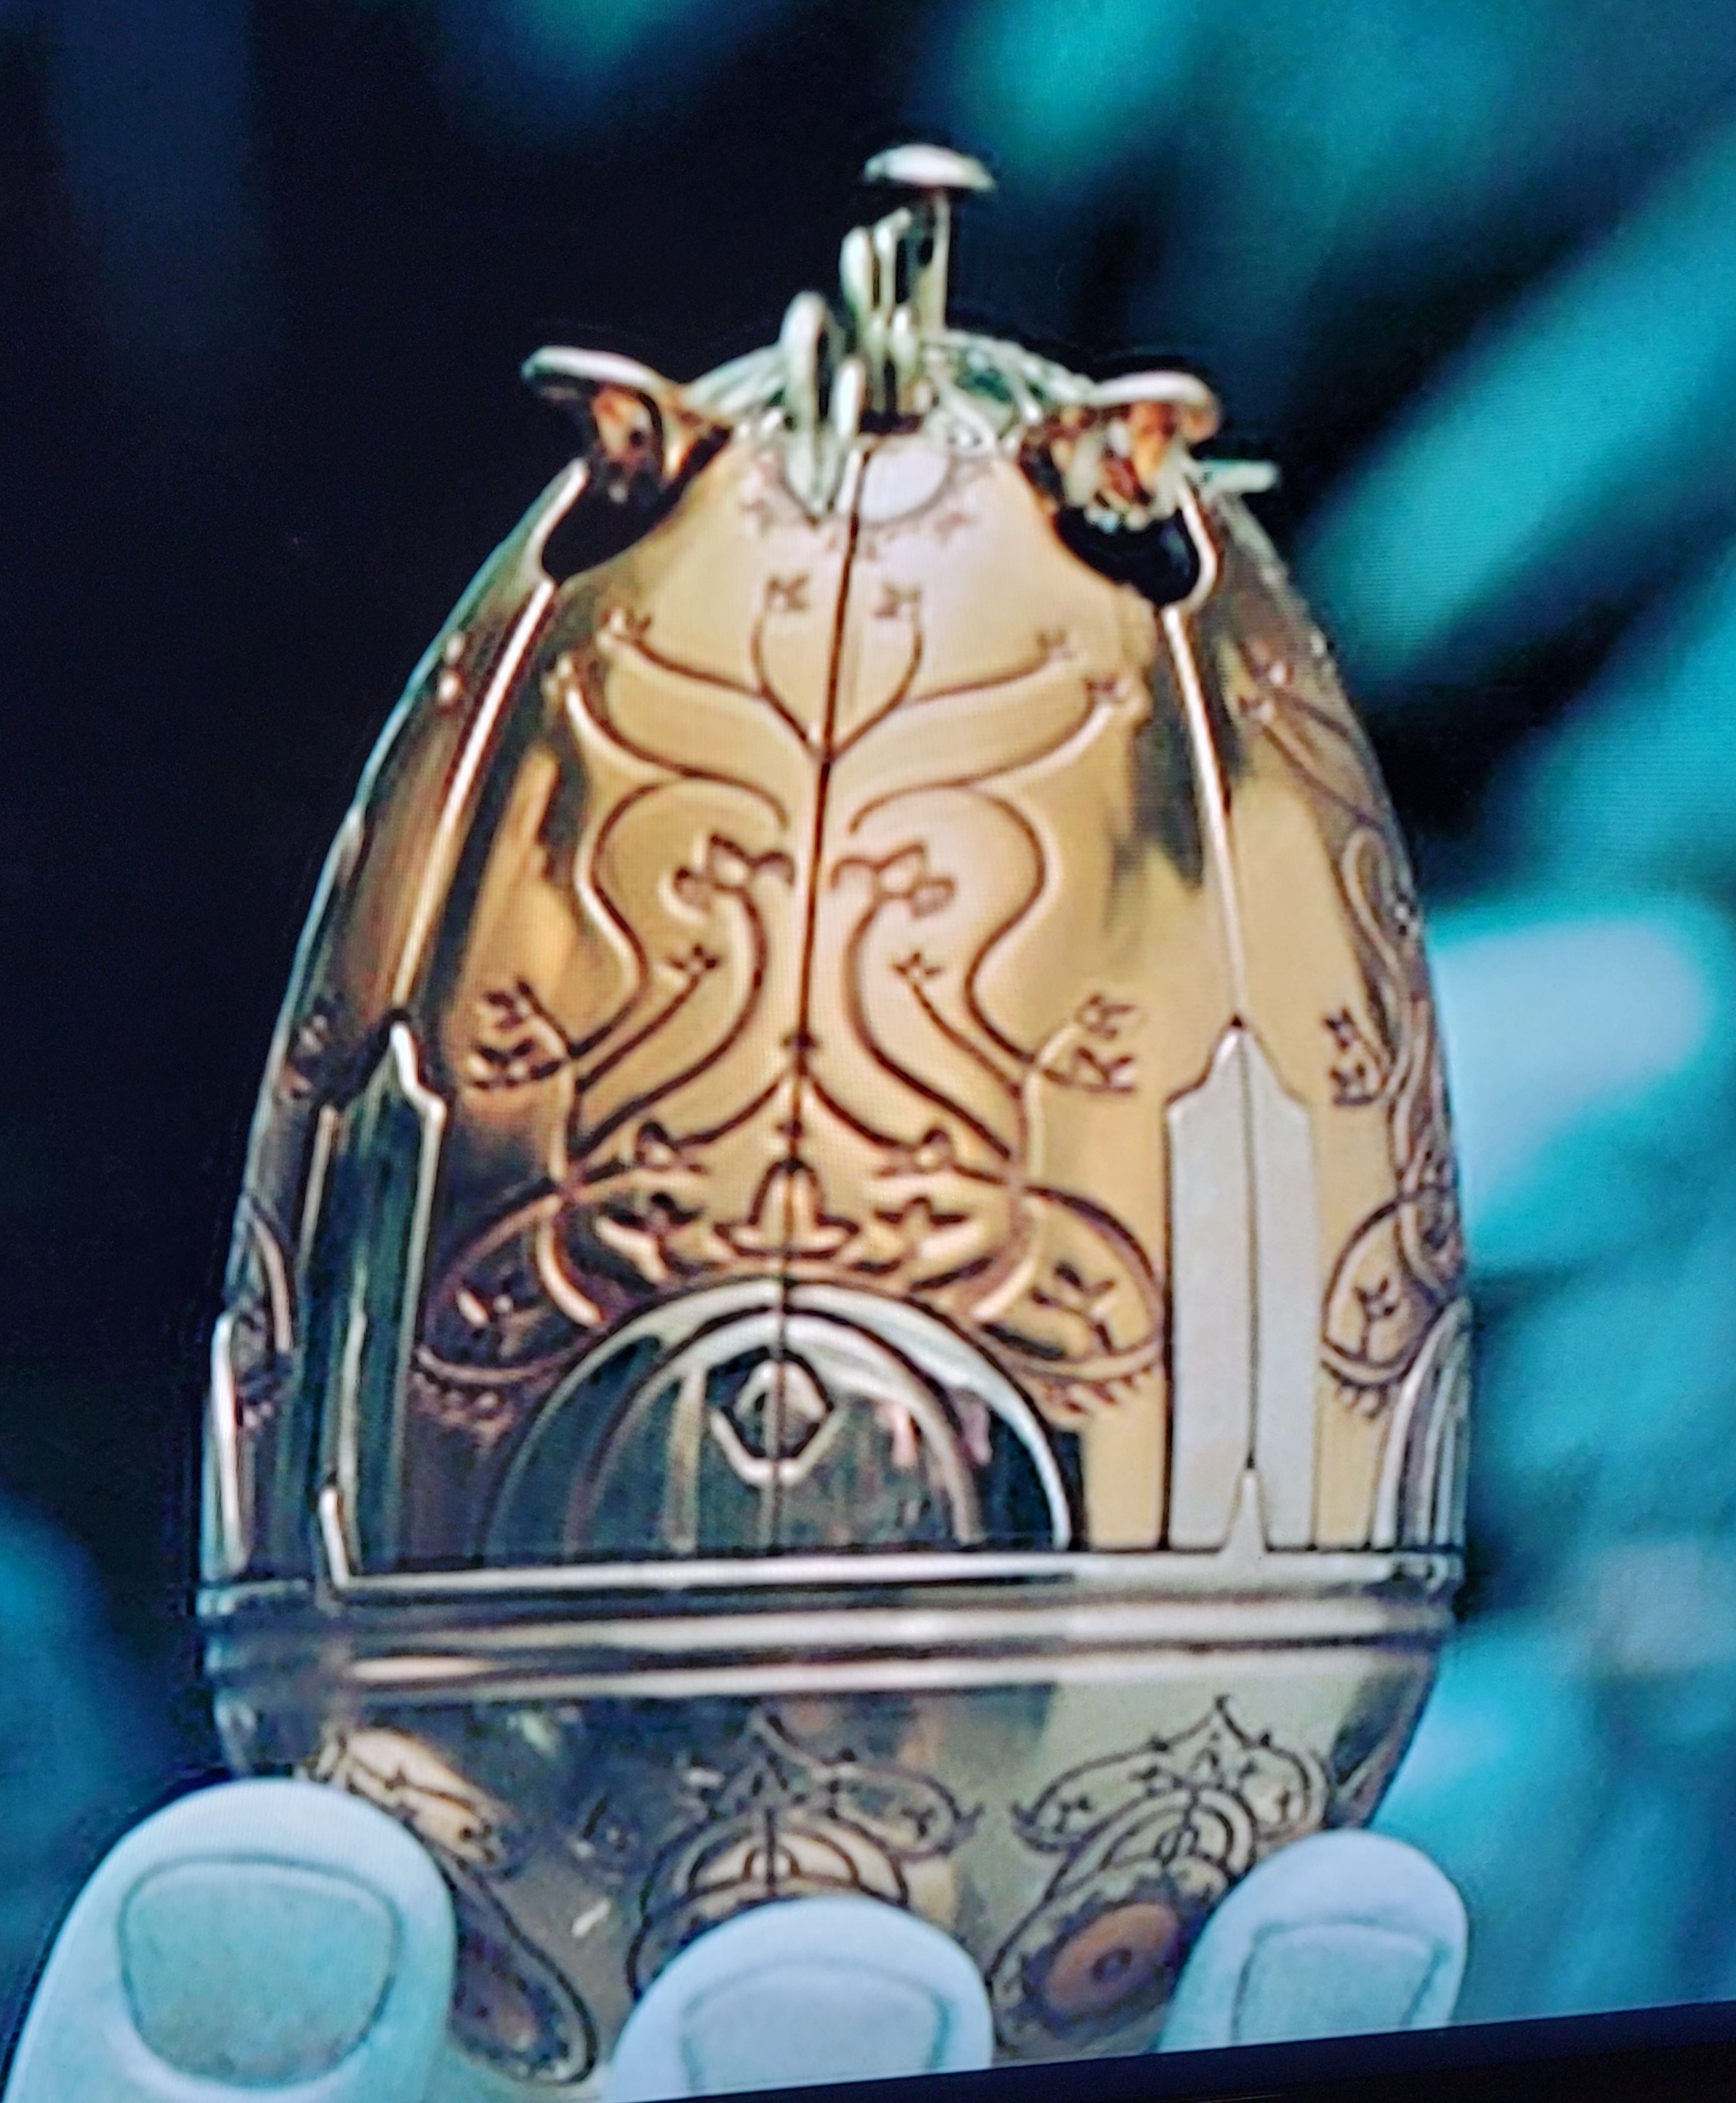

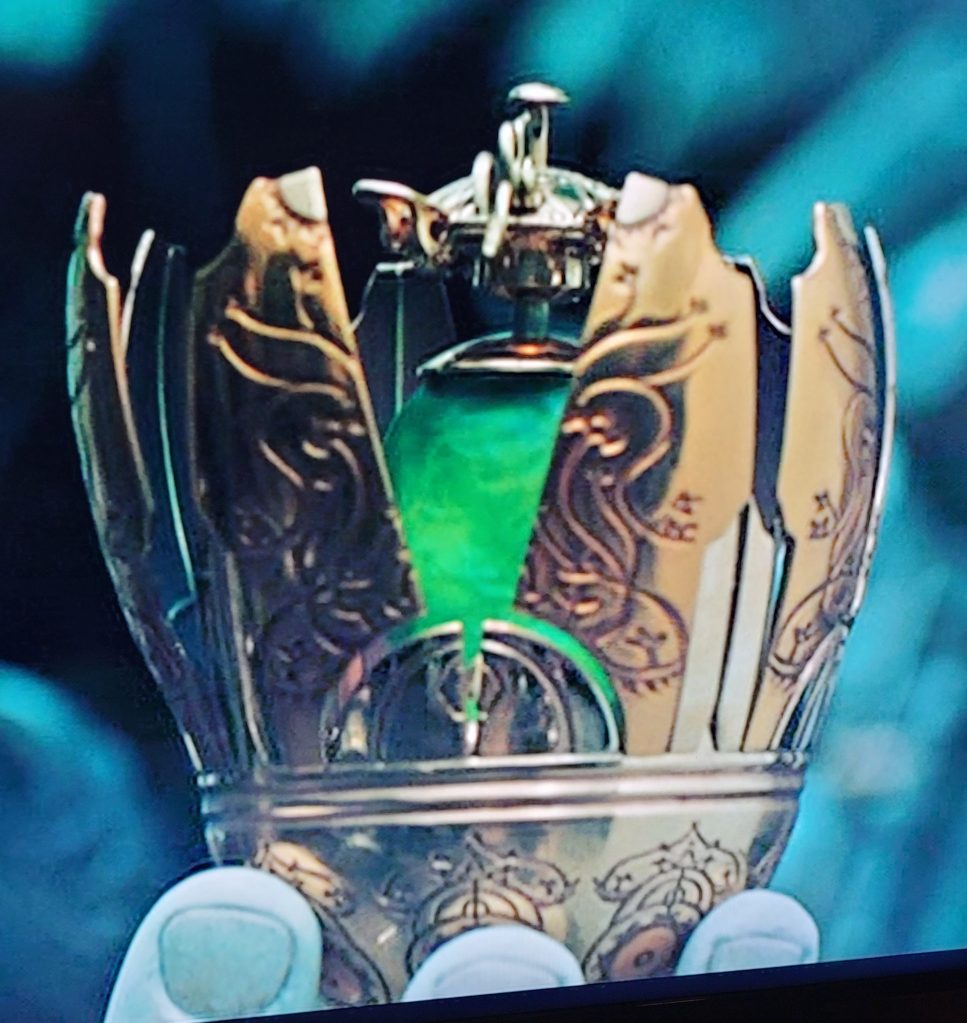
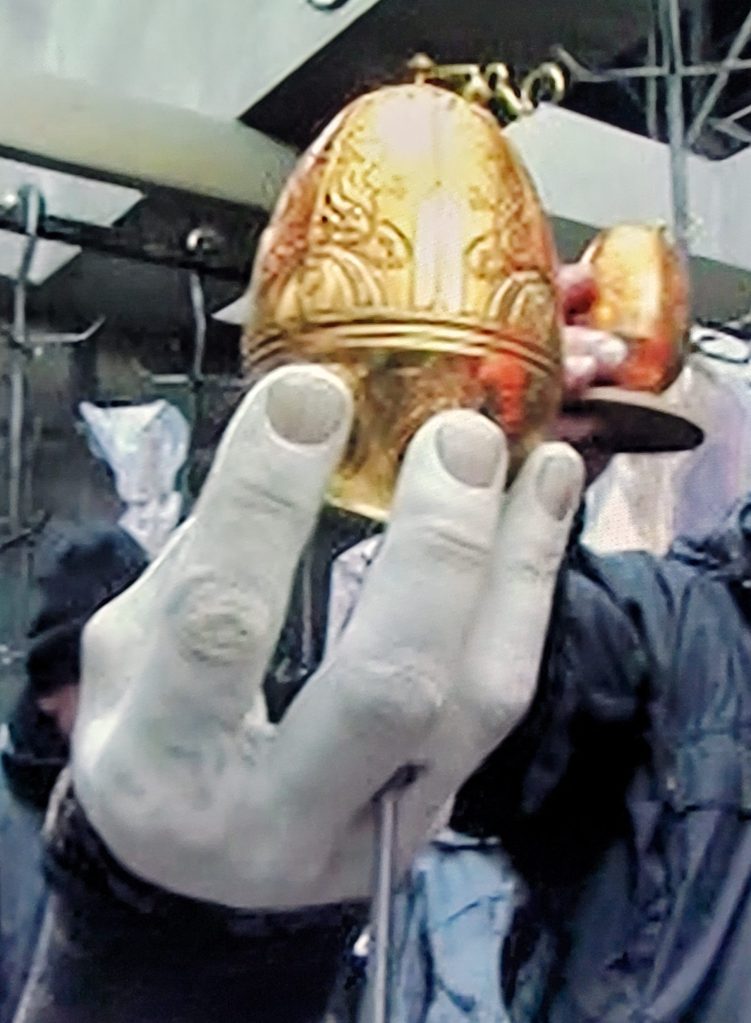
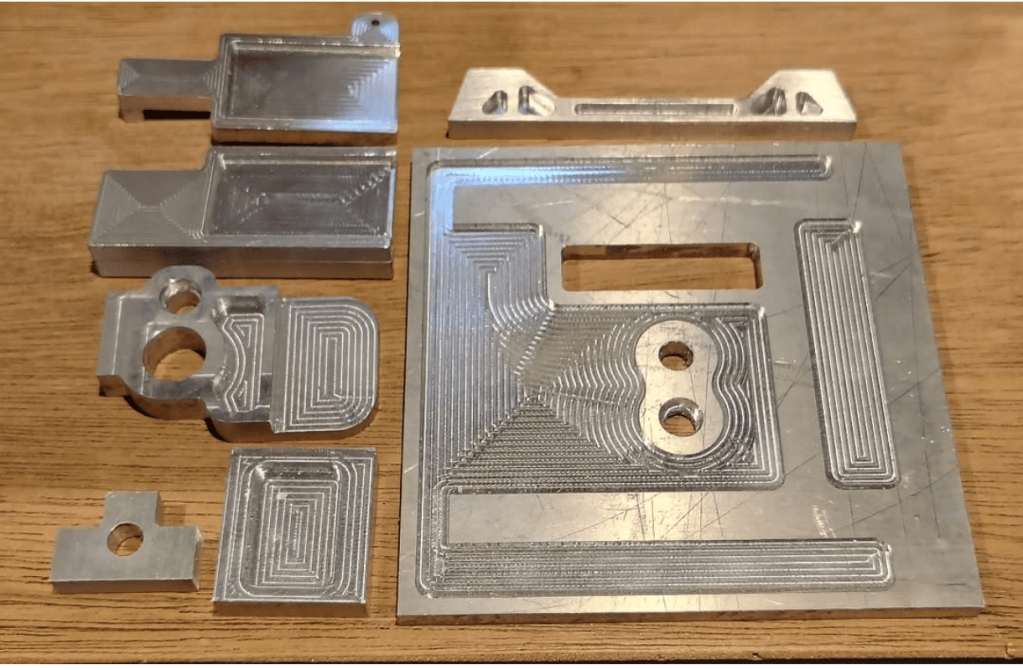
Construction is primarily machined aluminum, stainless steel, and brass. The egg shell will be hand formed and engraved brass.
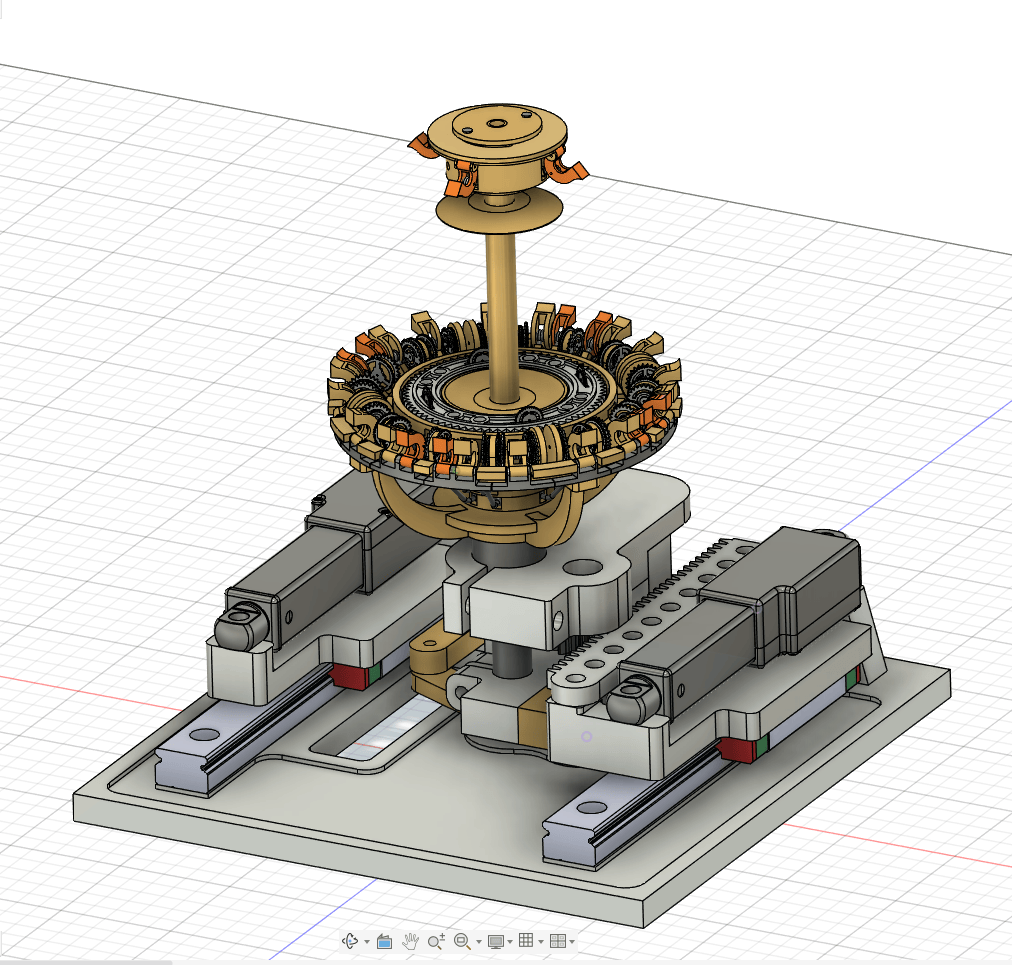
There are 68 tiny gears (comprising three different patterns, three different sizes) to make. These are cut using a fiber laser -the smallest gear is around 6mm diameter. The gear next to the dime is my first try- it was cut from .4mm thick brass.

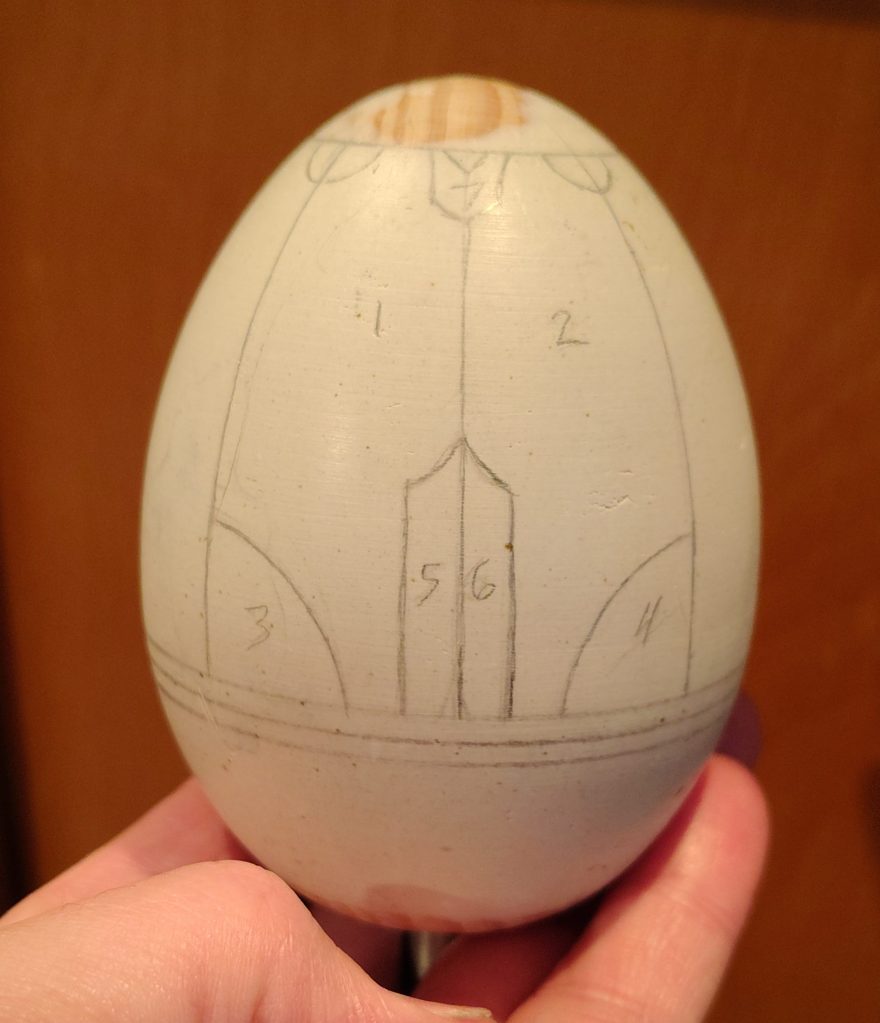
3D printed forms for forming the brass egg shell along with an earlier wood pattern used to judge scale.

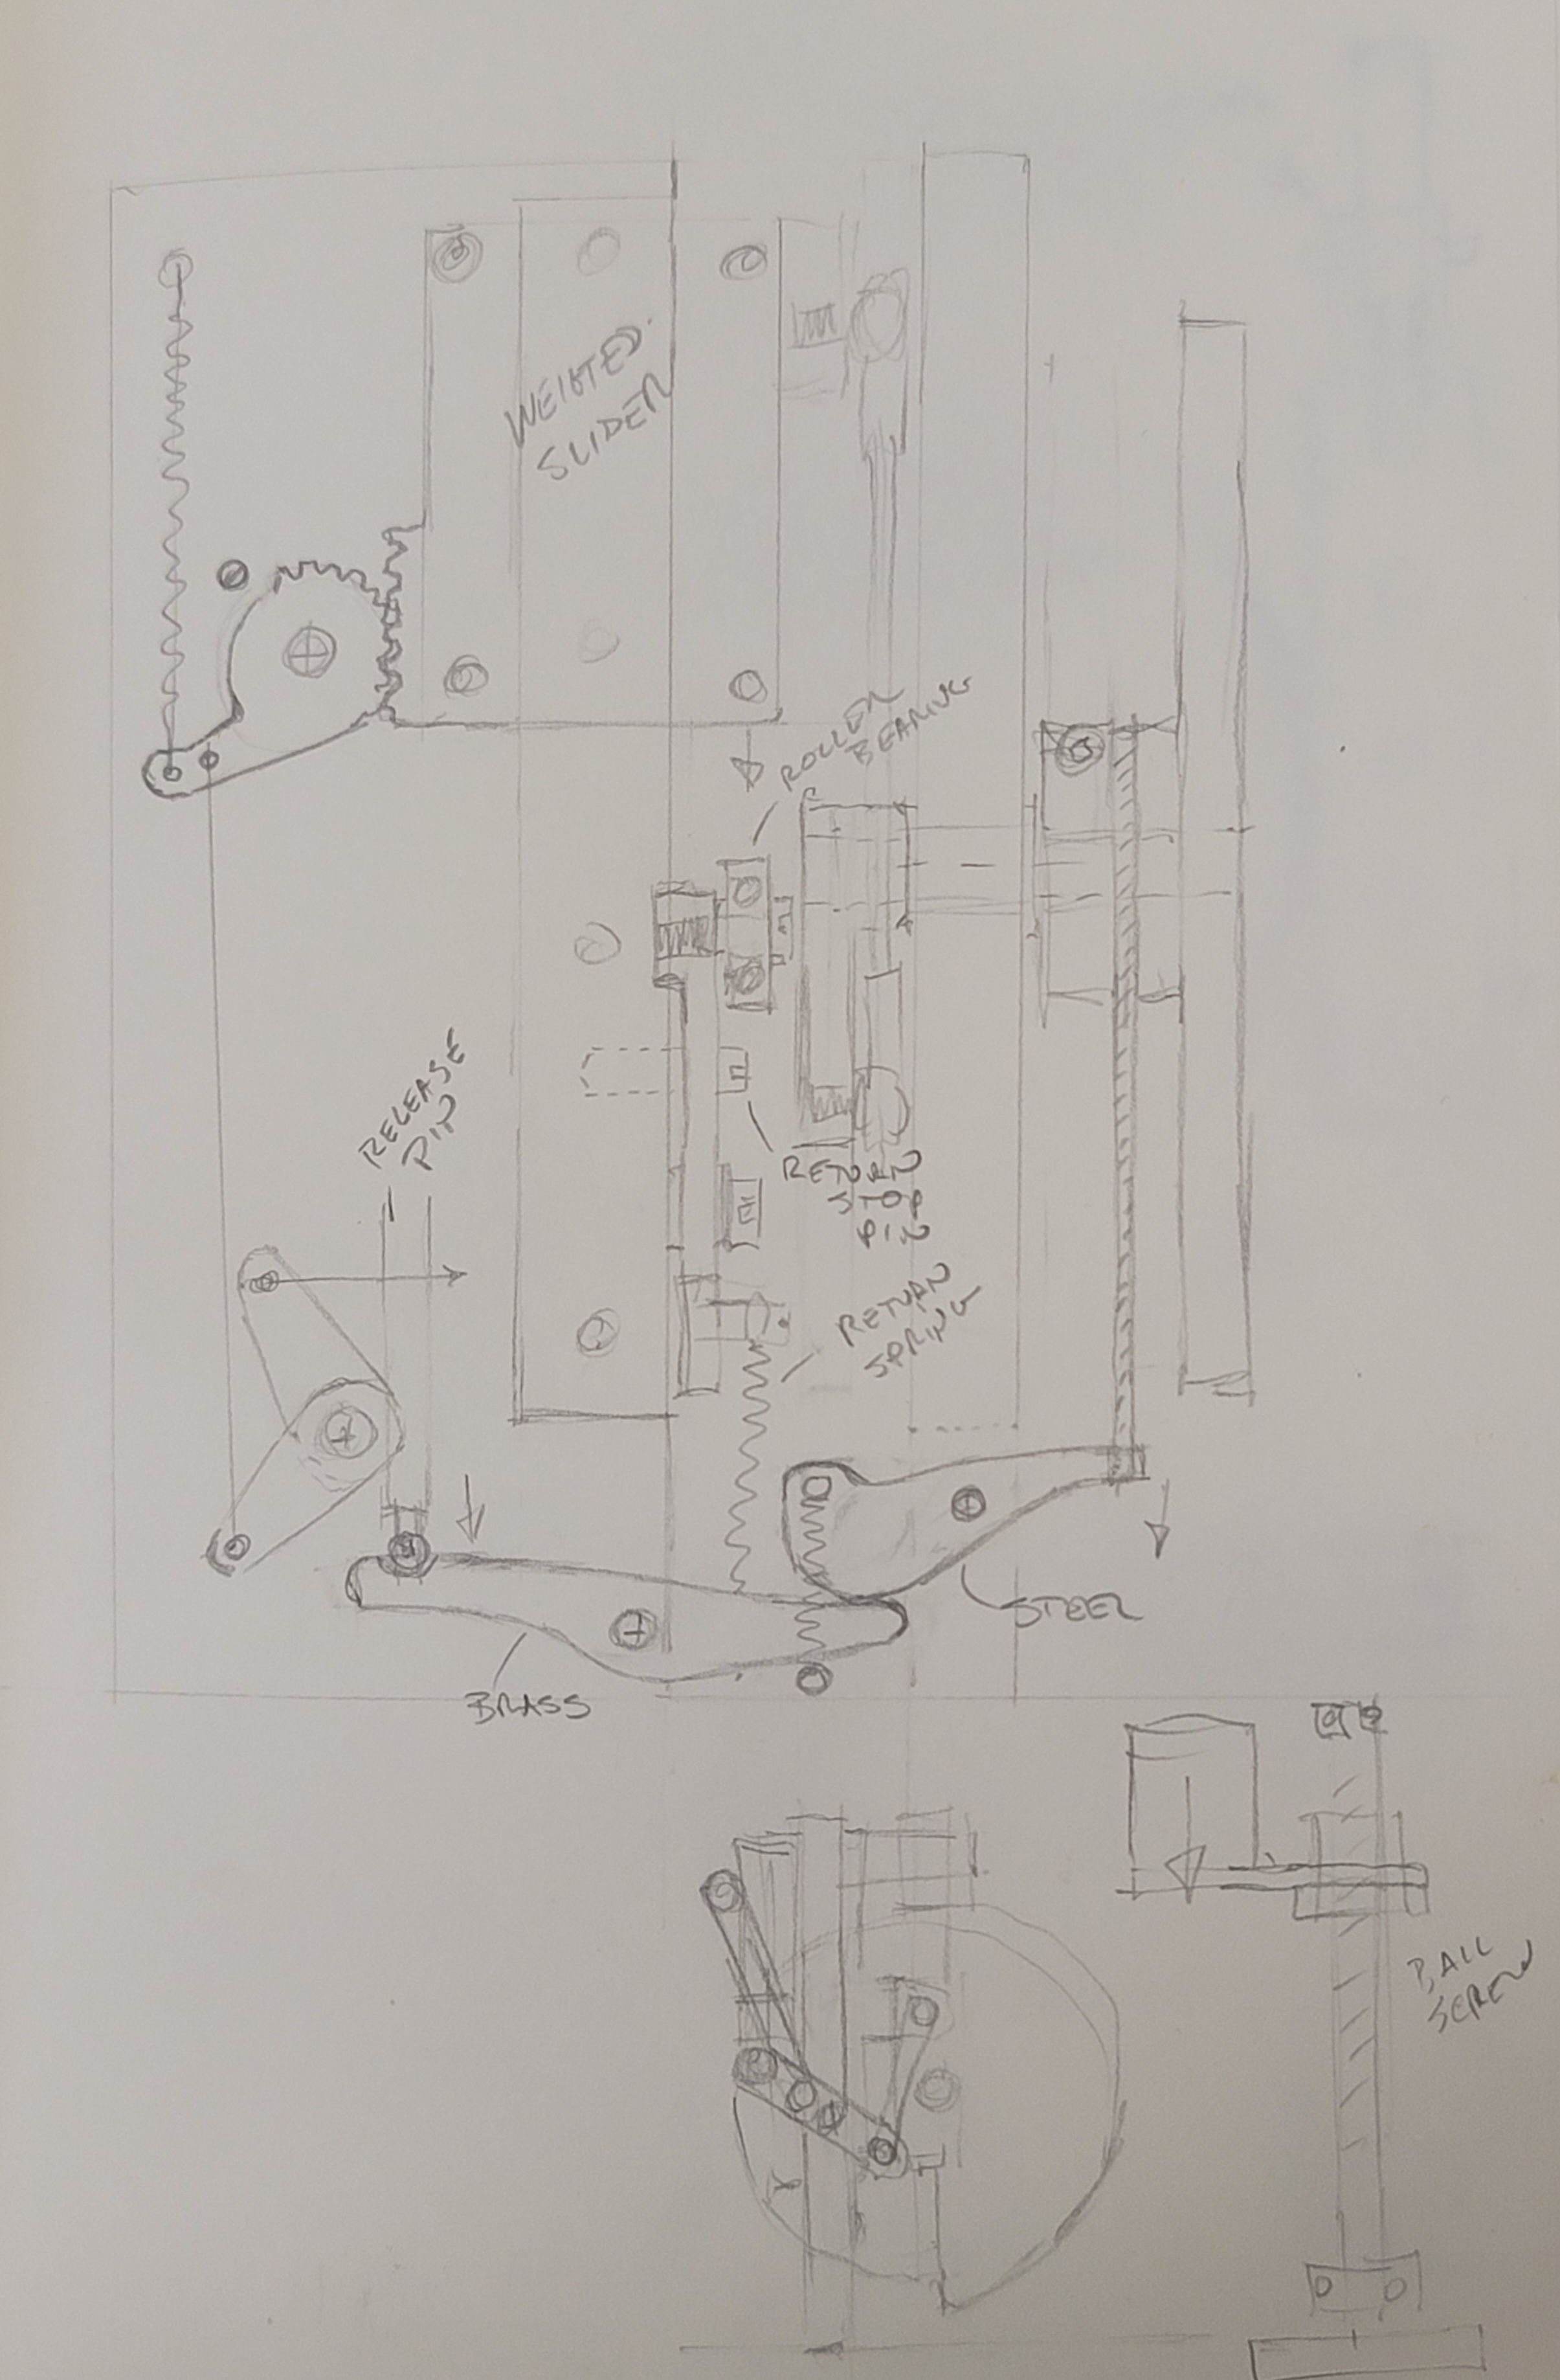
I also decided the egg needed a case/vault. I really liked the design of The Golden Army tooth fairy case where the Royal Seal rotated, unlocking the case, and the door would then slide upward. I also thought it would be neat to have a gear mechanism similar to that of the Troll Market door. In this case, pushing the seal/emblem activates it so the seal rotates as the door lifts up, with just enough clearance to pull out the egg on a sliding tray. There will be a sliding counterweight to lift the door. The first image is a pattern for the hand engraved seal on the door. The vault case will be walnut and the mechanics are machined aluminum and brass.


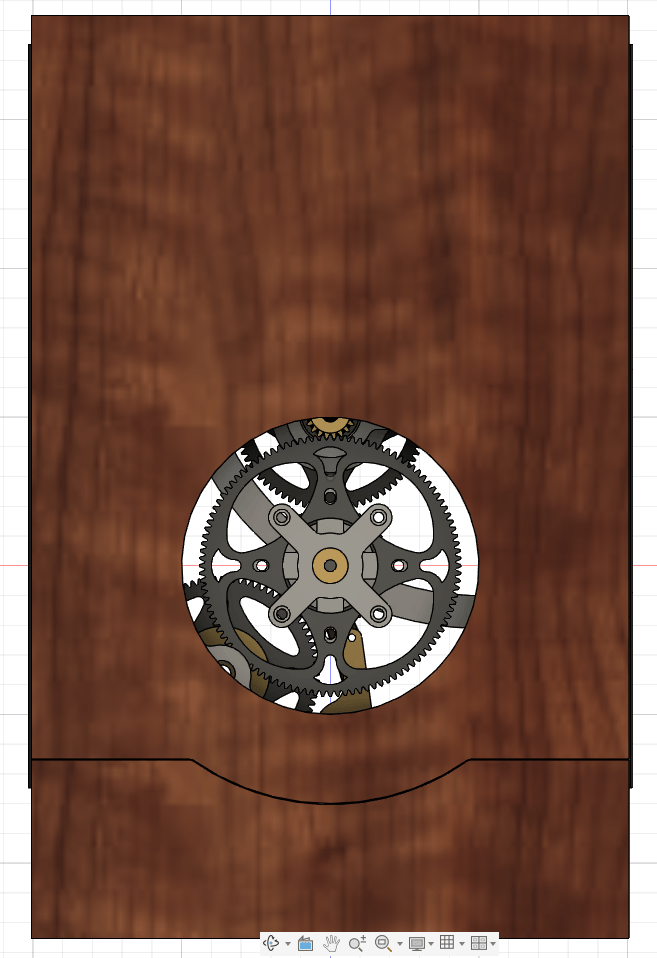
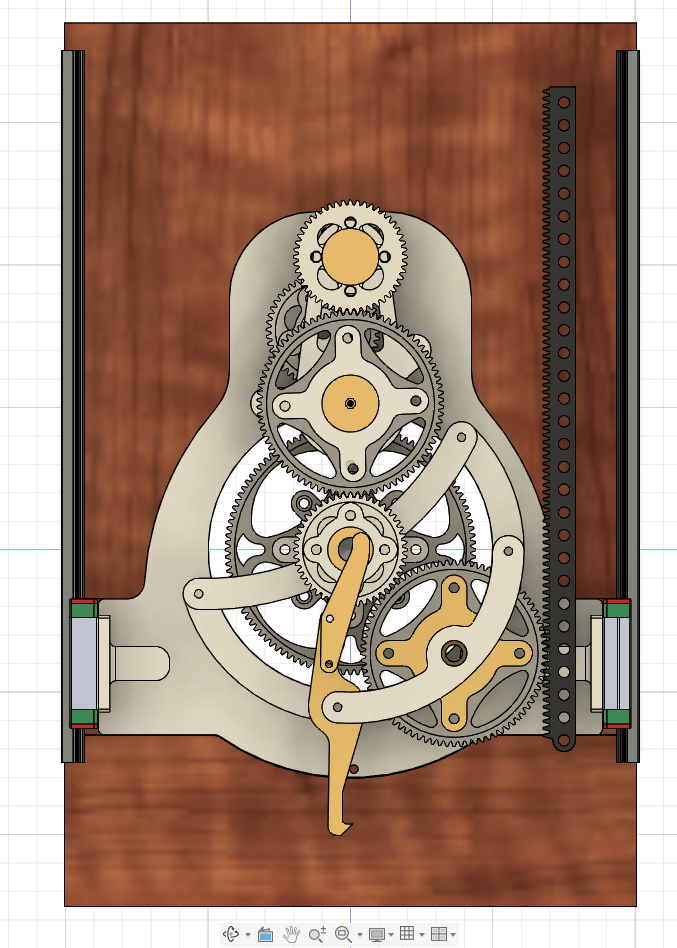
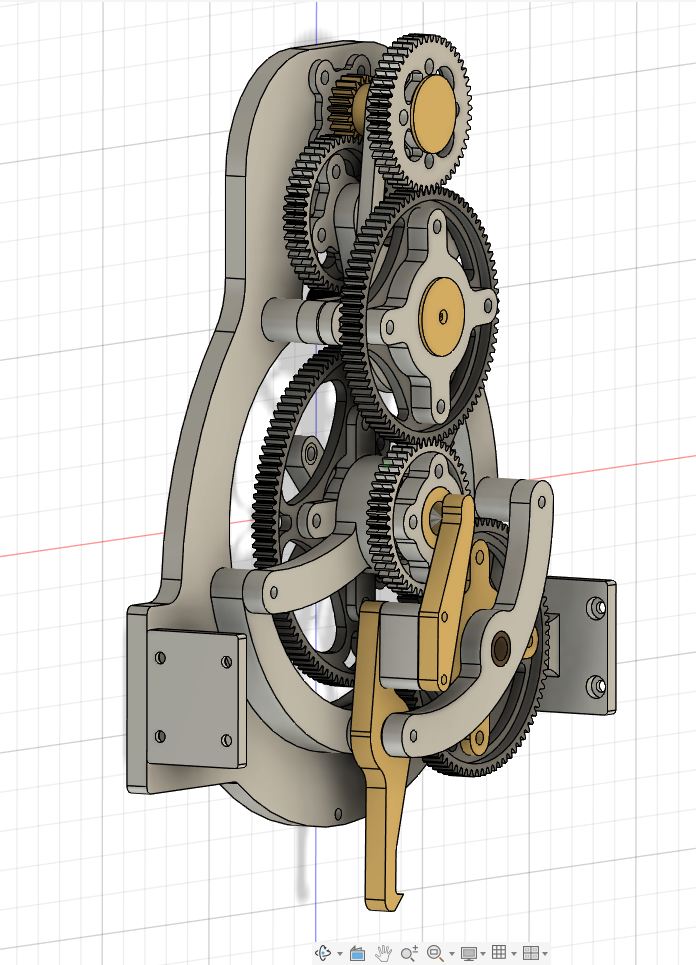
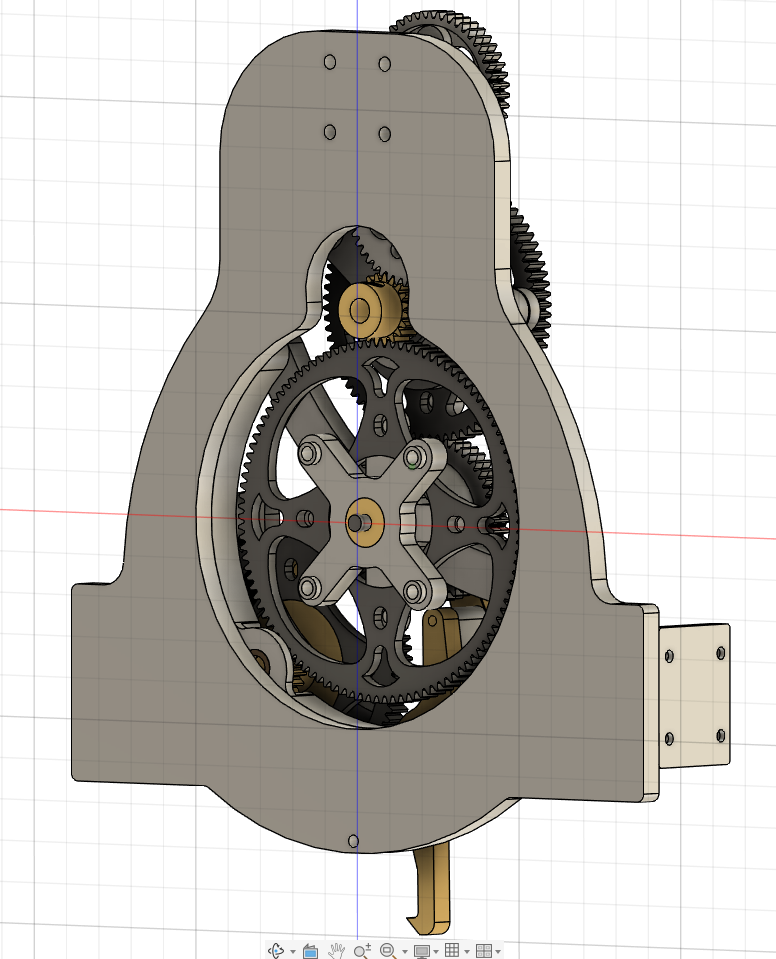
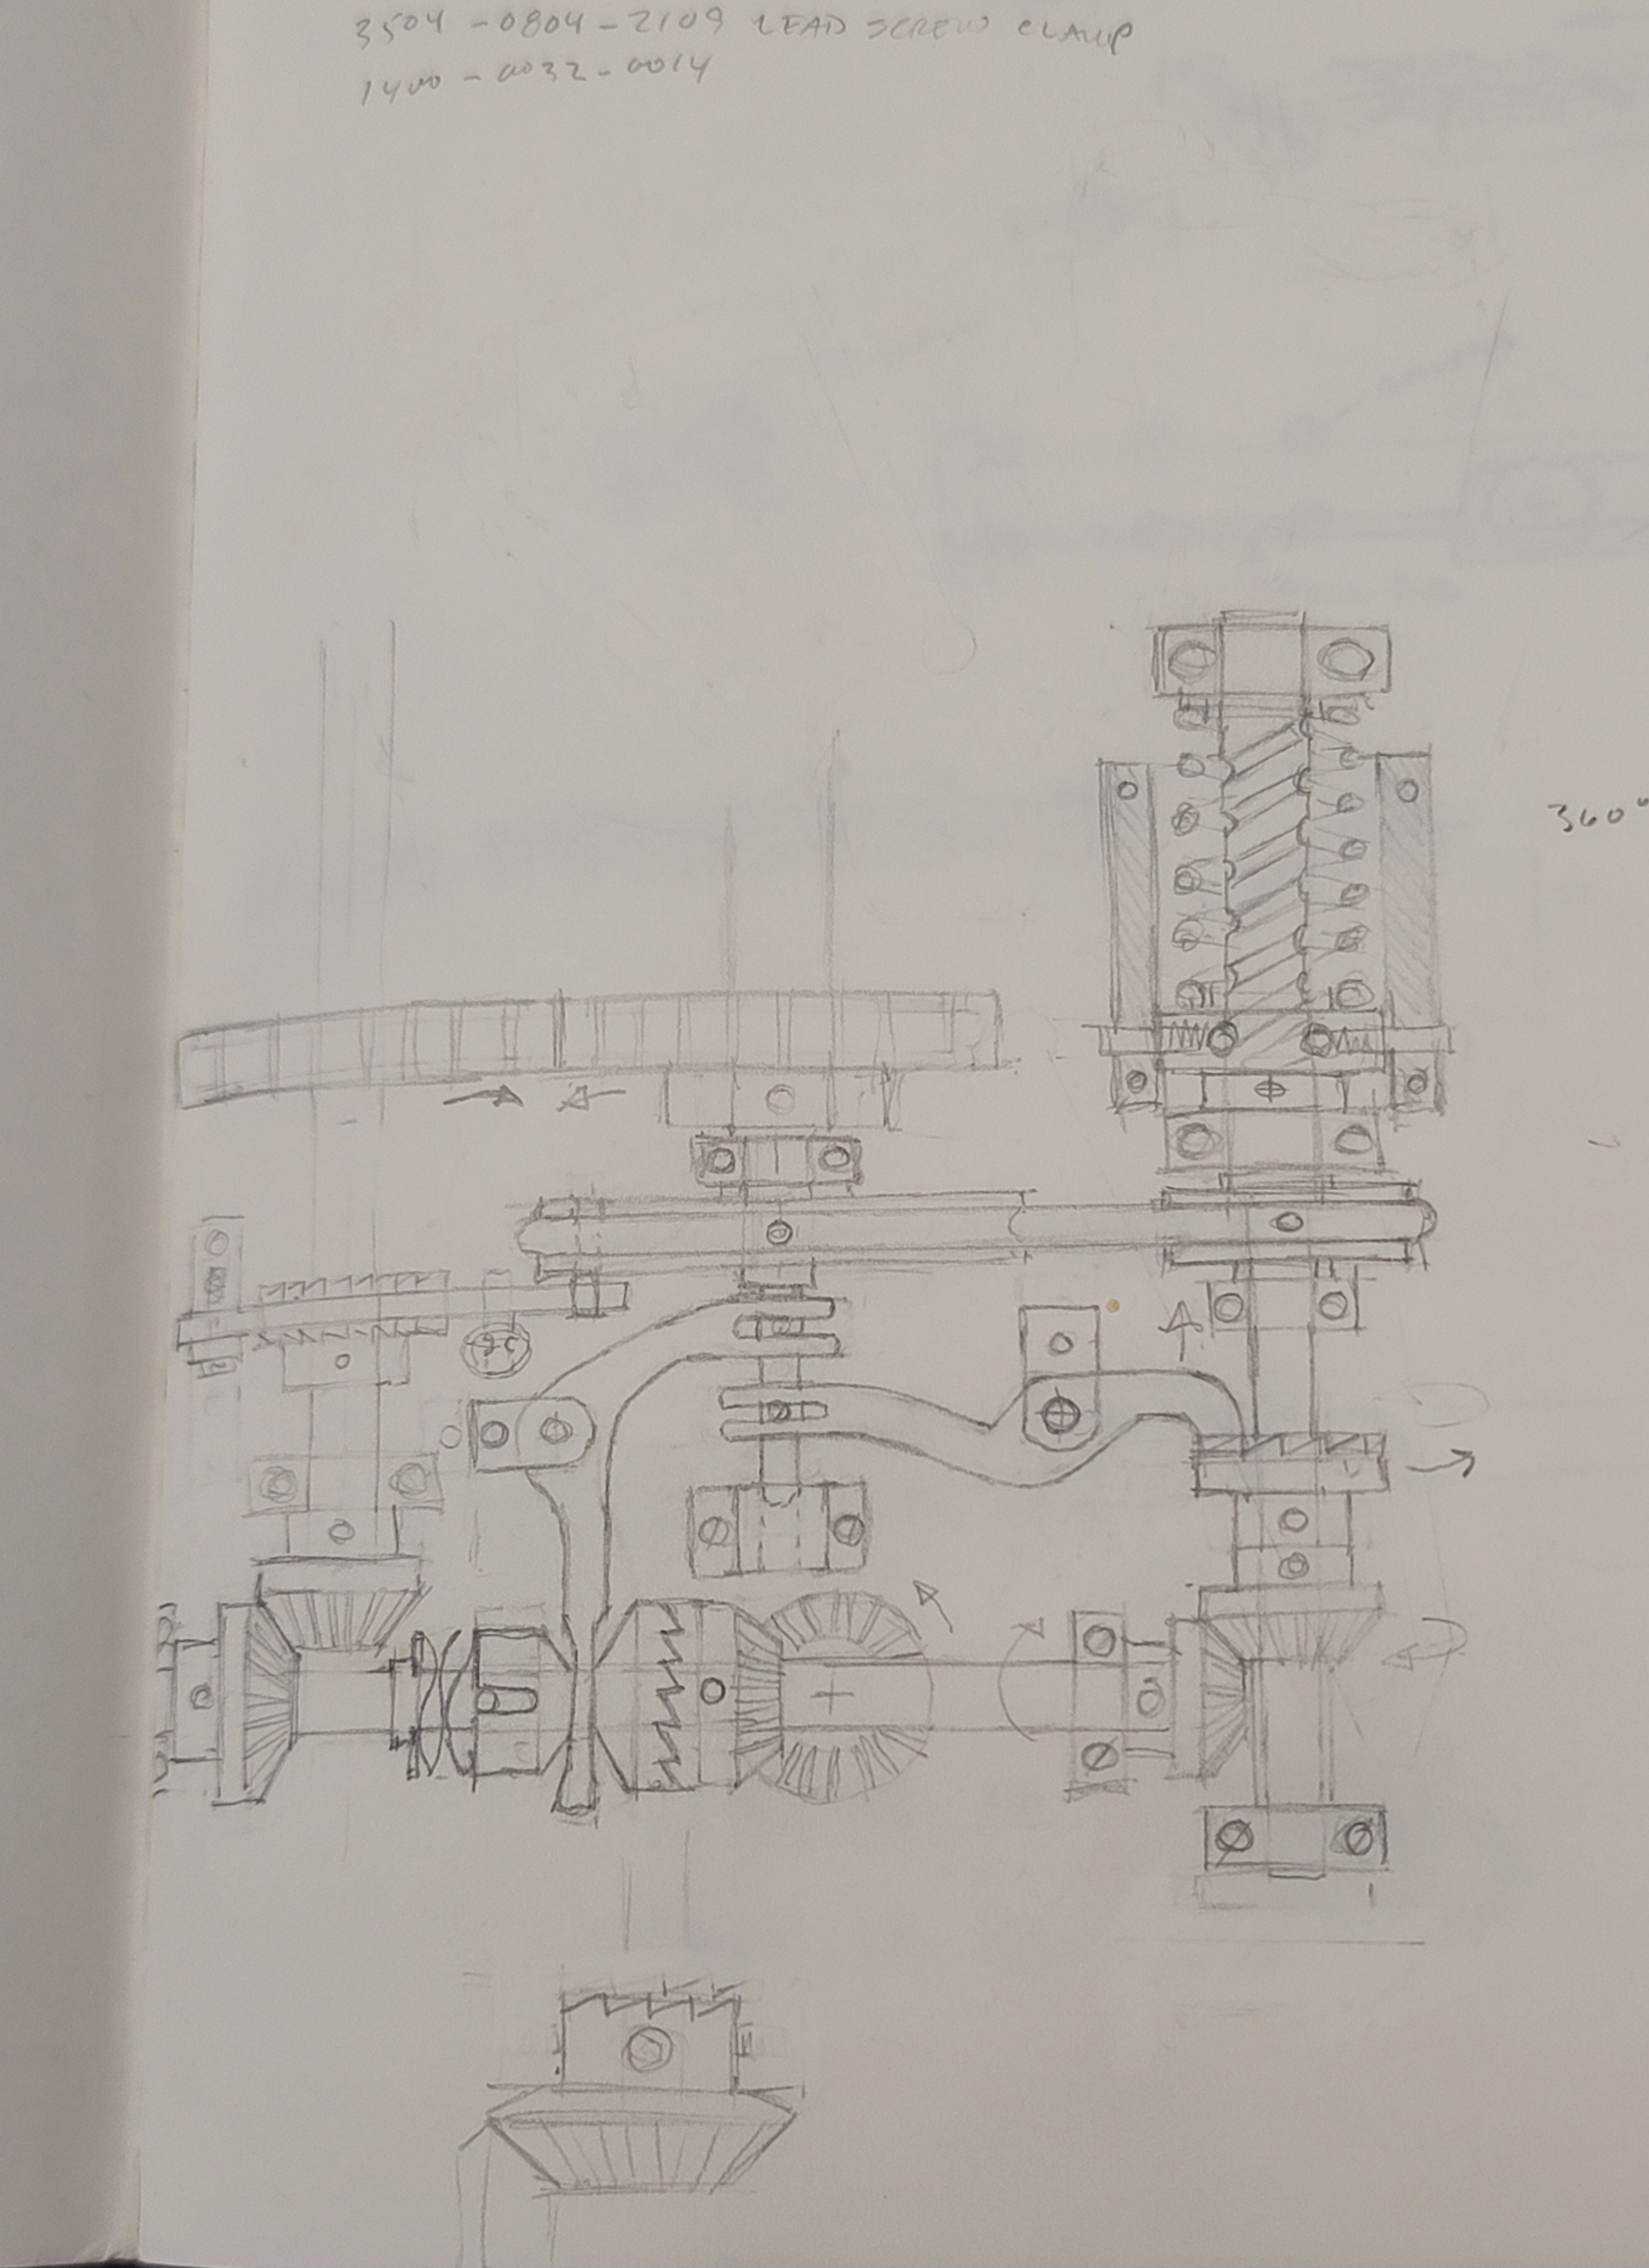
Some early idea sketches for a mechanical version of the egg. I did these one day during lunch at work and realized very quickly that it was not practical at this point in time and the base would have been much larger overall.
Animatronic Stargate staff weapon
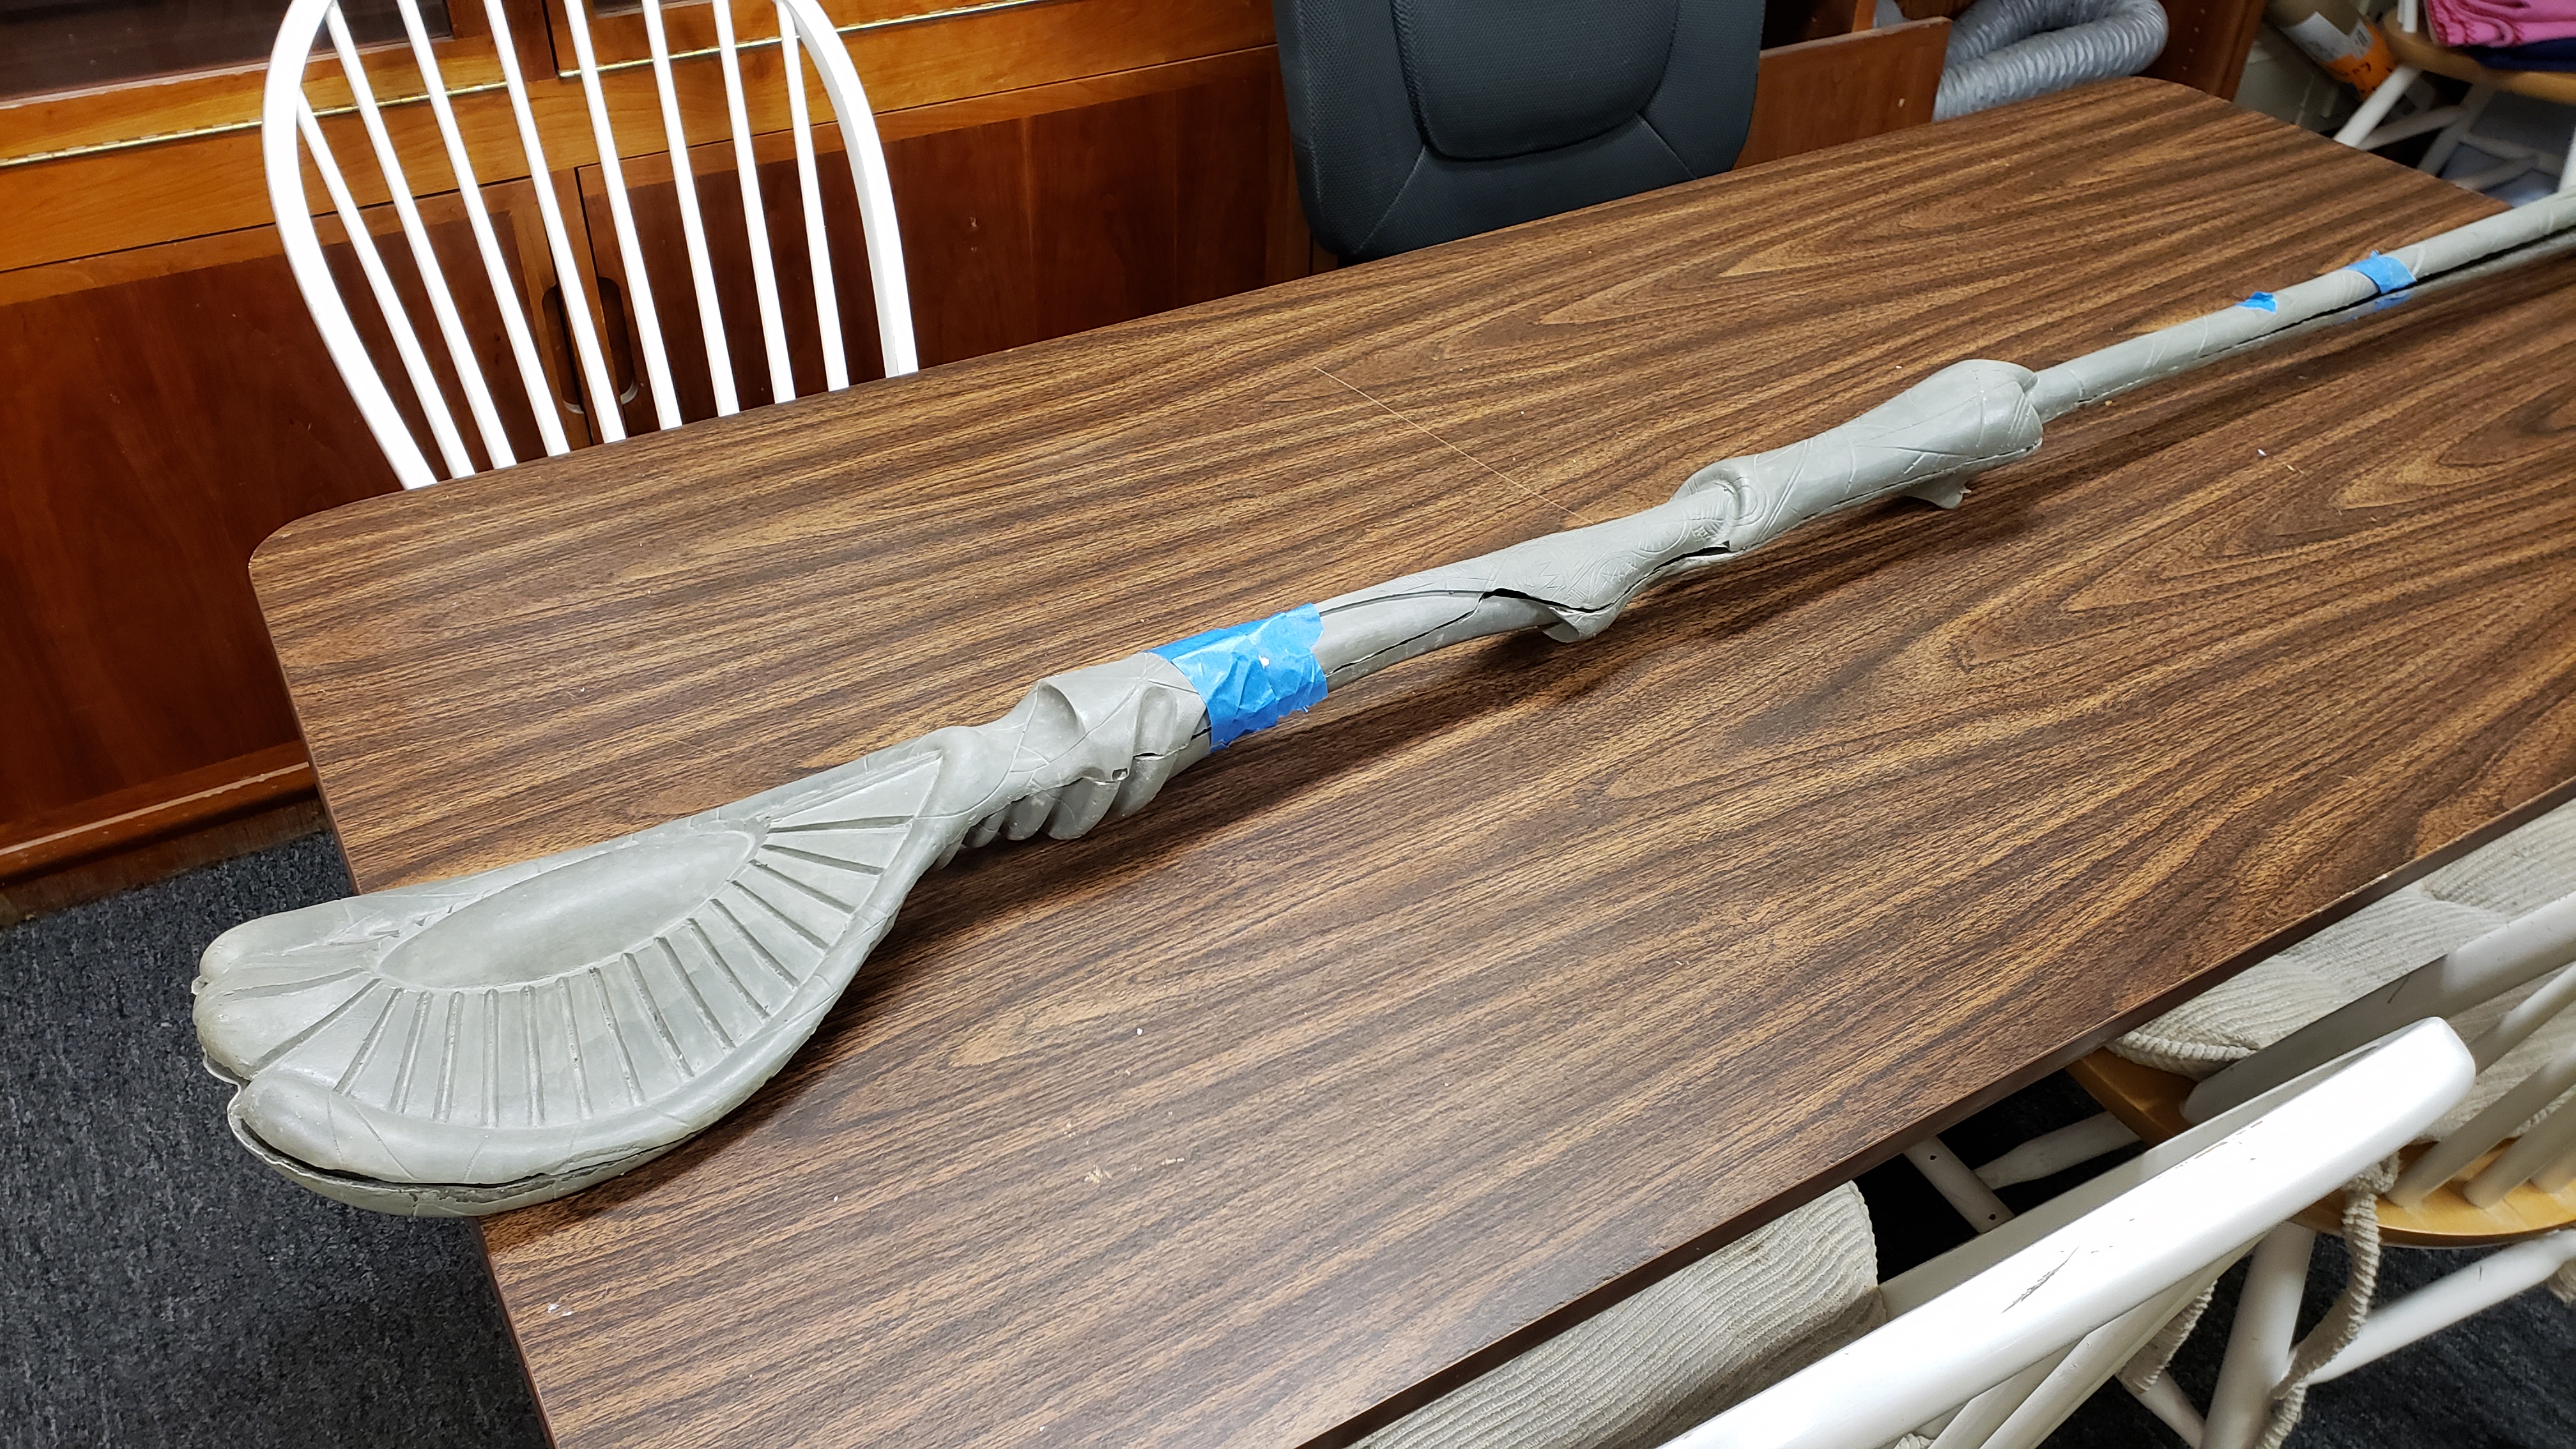
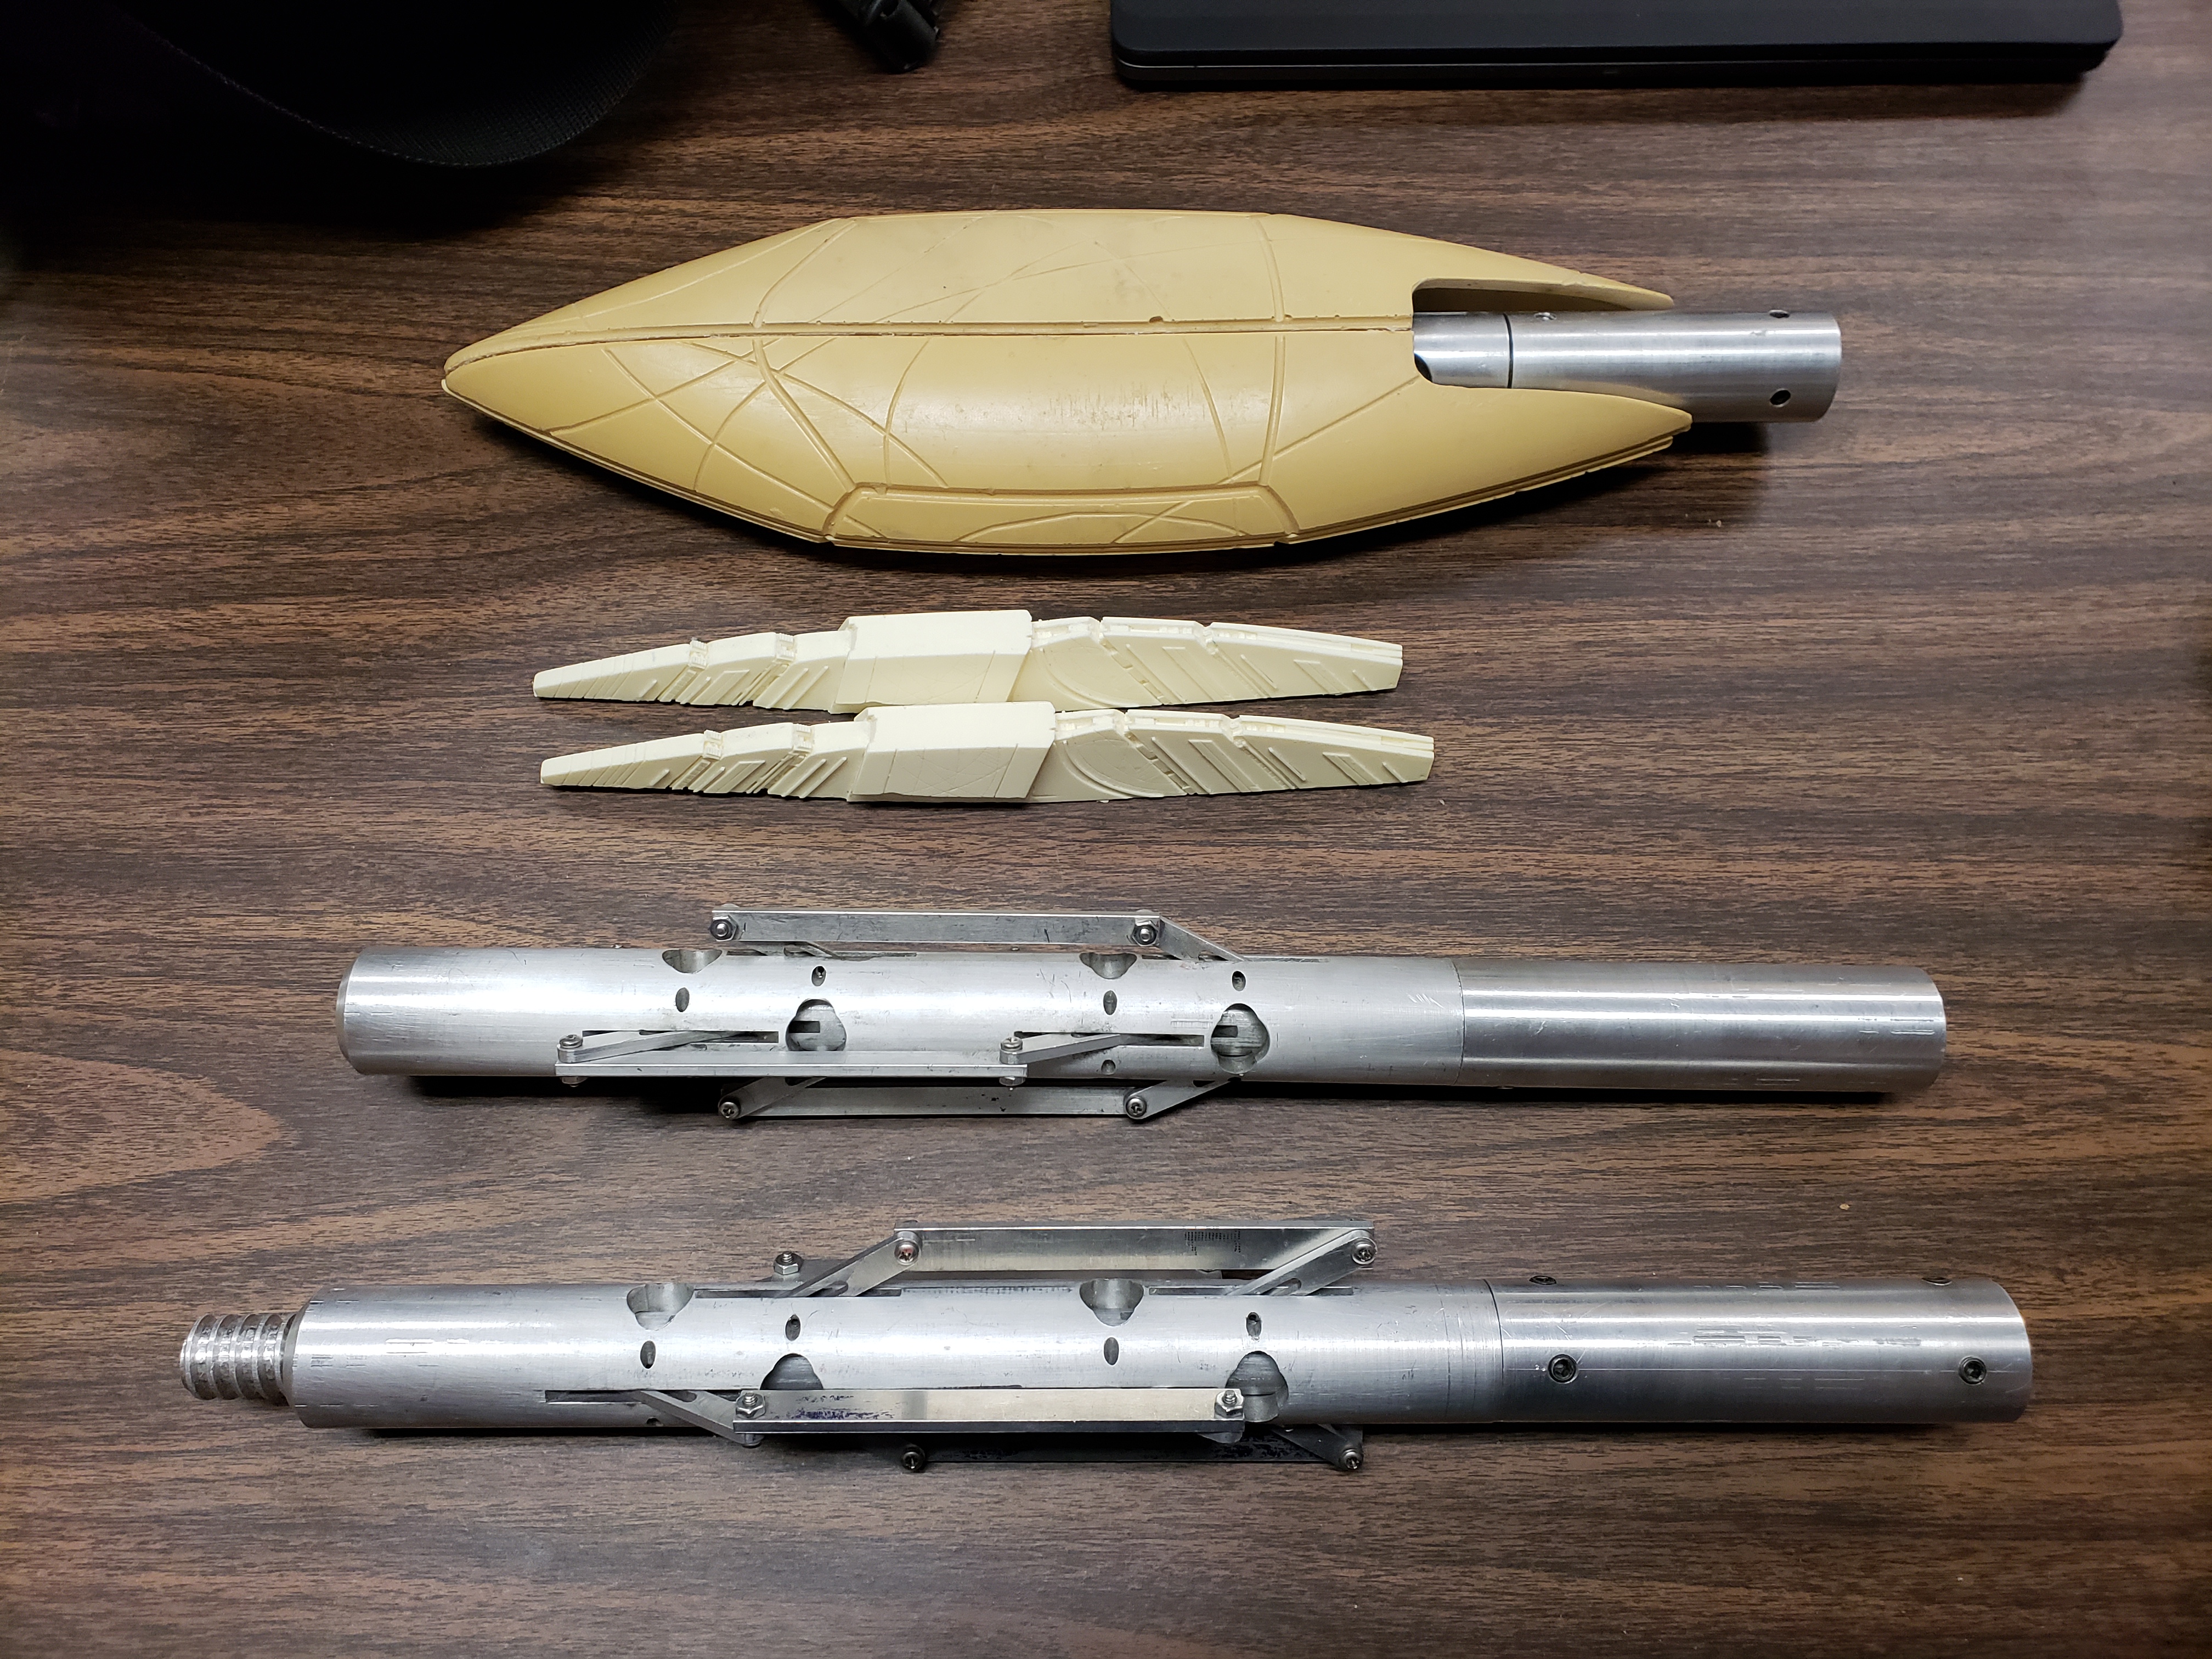
This is based on castings from molds made from original film production pieces. The staff opening mechanism is based on the mechanics of the film staff. The original film staff weapons were pneumatic but this one is electronic using a linear servo to drive the mechanism and it will have additional lights and sound effect.
Flerken
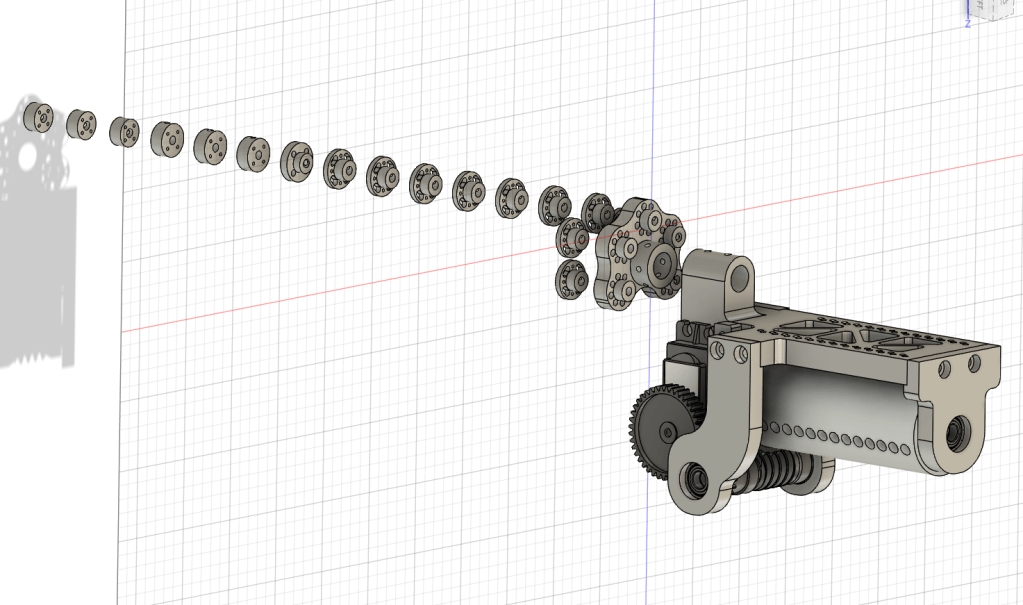
In the film Captain Marvel, it turns out the orange tabby cat Goose is actually a Flerken. I had happened to come across a decent sized stuffed toy orange tabby cat online and decided it would be fun to make a Flerken, as it would be good practice in making small tentacle mechanics. In order to make the entire mechanism fit in the cat body it would have to be powered by a single motor or servo and I limited it to five dual stage tentacles to save space and simplify cable/spring housing runs. I devised a worm drive cable drum mechanism that would pull all of the tentacle cables at the same time. By changing the drum diameter along its length I could also alter the amount of cable pull for each tentacle stage, giving it a more organic look/feel.
I printed a quick test mechanism before going to the trouble of machining all of the parts in aluminum. The servo shown in the test sample is a beefy Titanium geared servo with the internal pot removed and placed at the end of the cable drum to accurately control the drum position.



Animatronic cosplay wings
(Note- I keep this specific project here as an example to myself of what NOT to do and a cautionary tale about 1) Making things more complex than they need be, and 2) Everything and anything can (and often will) go wrong when animatronics are involved.)
The wings were to weigh about 1.75 lbs each and be about 39″ in length. All four wings were to raise up together and then the inner wings were to lower and then raise back up along with additional forward/back flapping motion. This was accomplished using a two stage custom built linear drive arrangement with very tight packaging- the mechanism is about 8.5″ wide and 10″ long. All wings were driven using small diameter braided stainless cables. This mechanism was really just too complex for what it needed to do and failed spectacularly. Every single thing that went wrong with this design was 100% self inflicted. Note to self- ALWAYS follow the KISS (Keep It Simple, Silly) rule!
This is currently being rebuilt to be much smaller/lighter and with lower power requirements. The new mechanics are built around servo driven lead screw drives. This uses an eight turn winch servo to get 64mm of lead screw travel. The benefit is that it is much smaller, lighter, lower power and doesn’t require a separate motor driver circuit with position feedback. With this mechanism, all four wings raise together (but with a different amount of travel for the inner vs outer wings) and the wings fold open as they are raised.
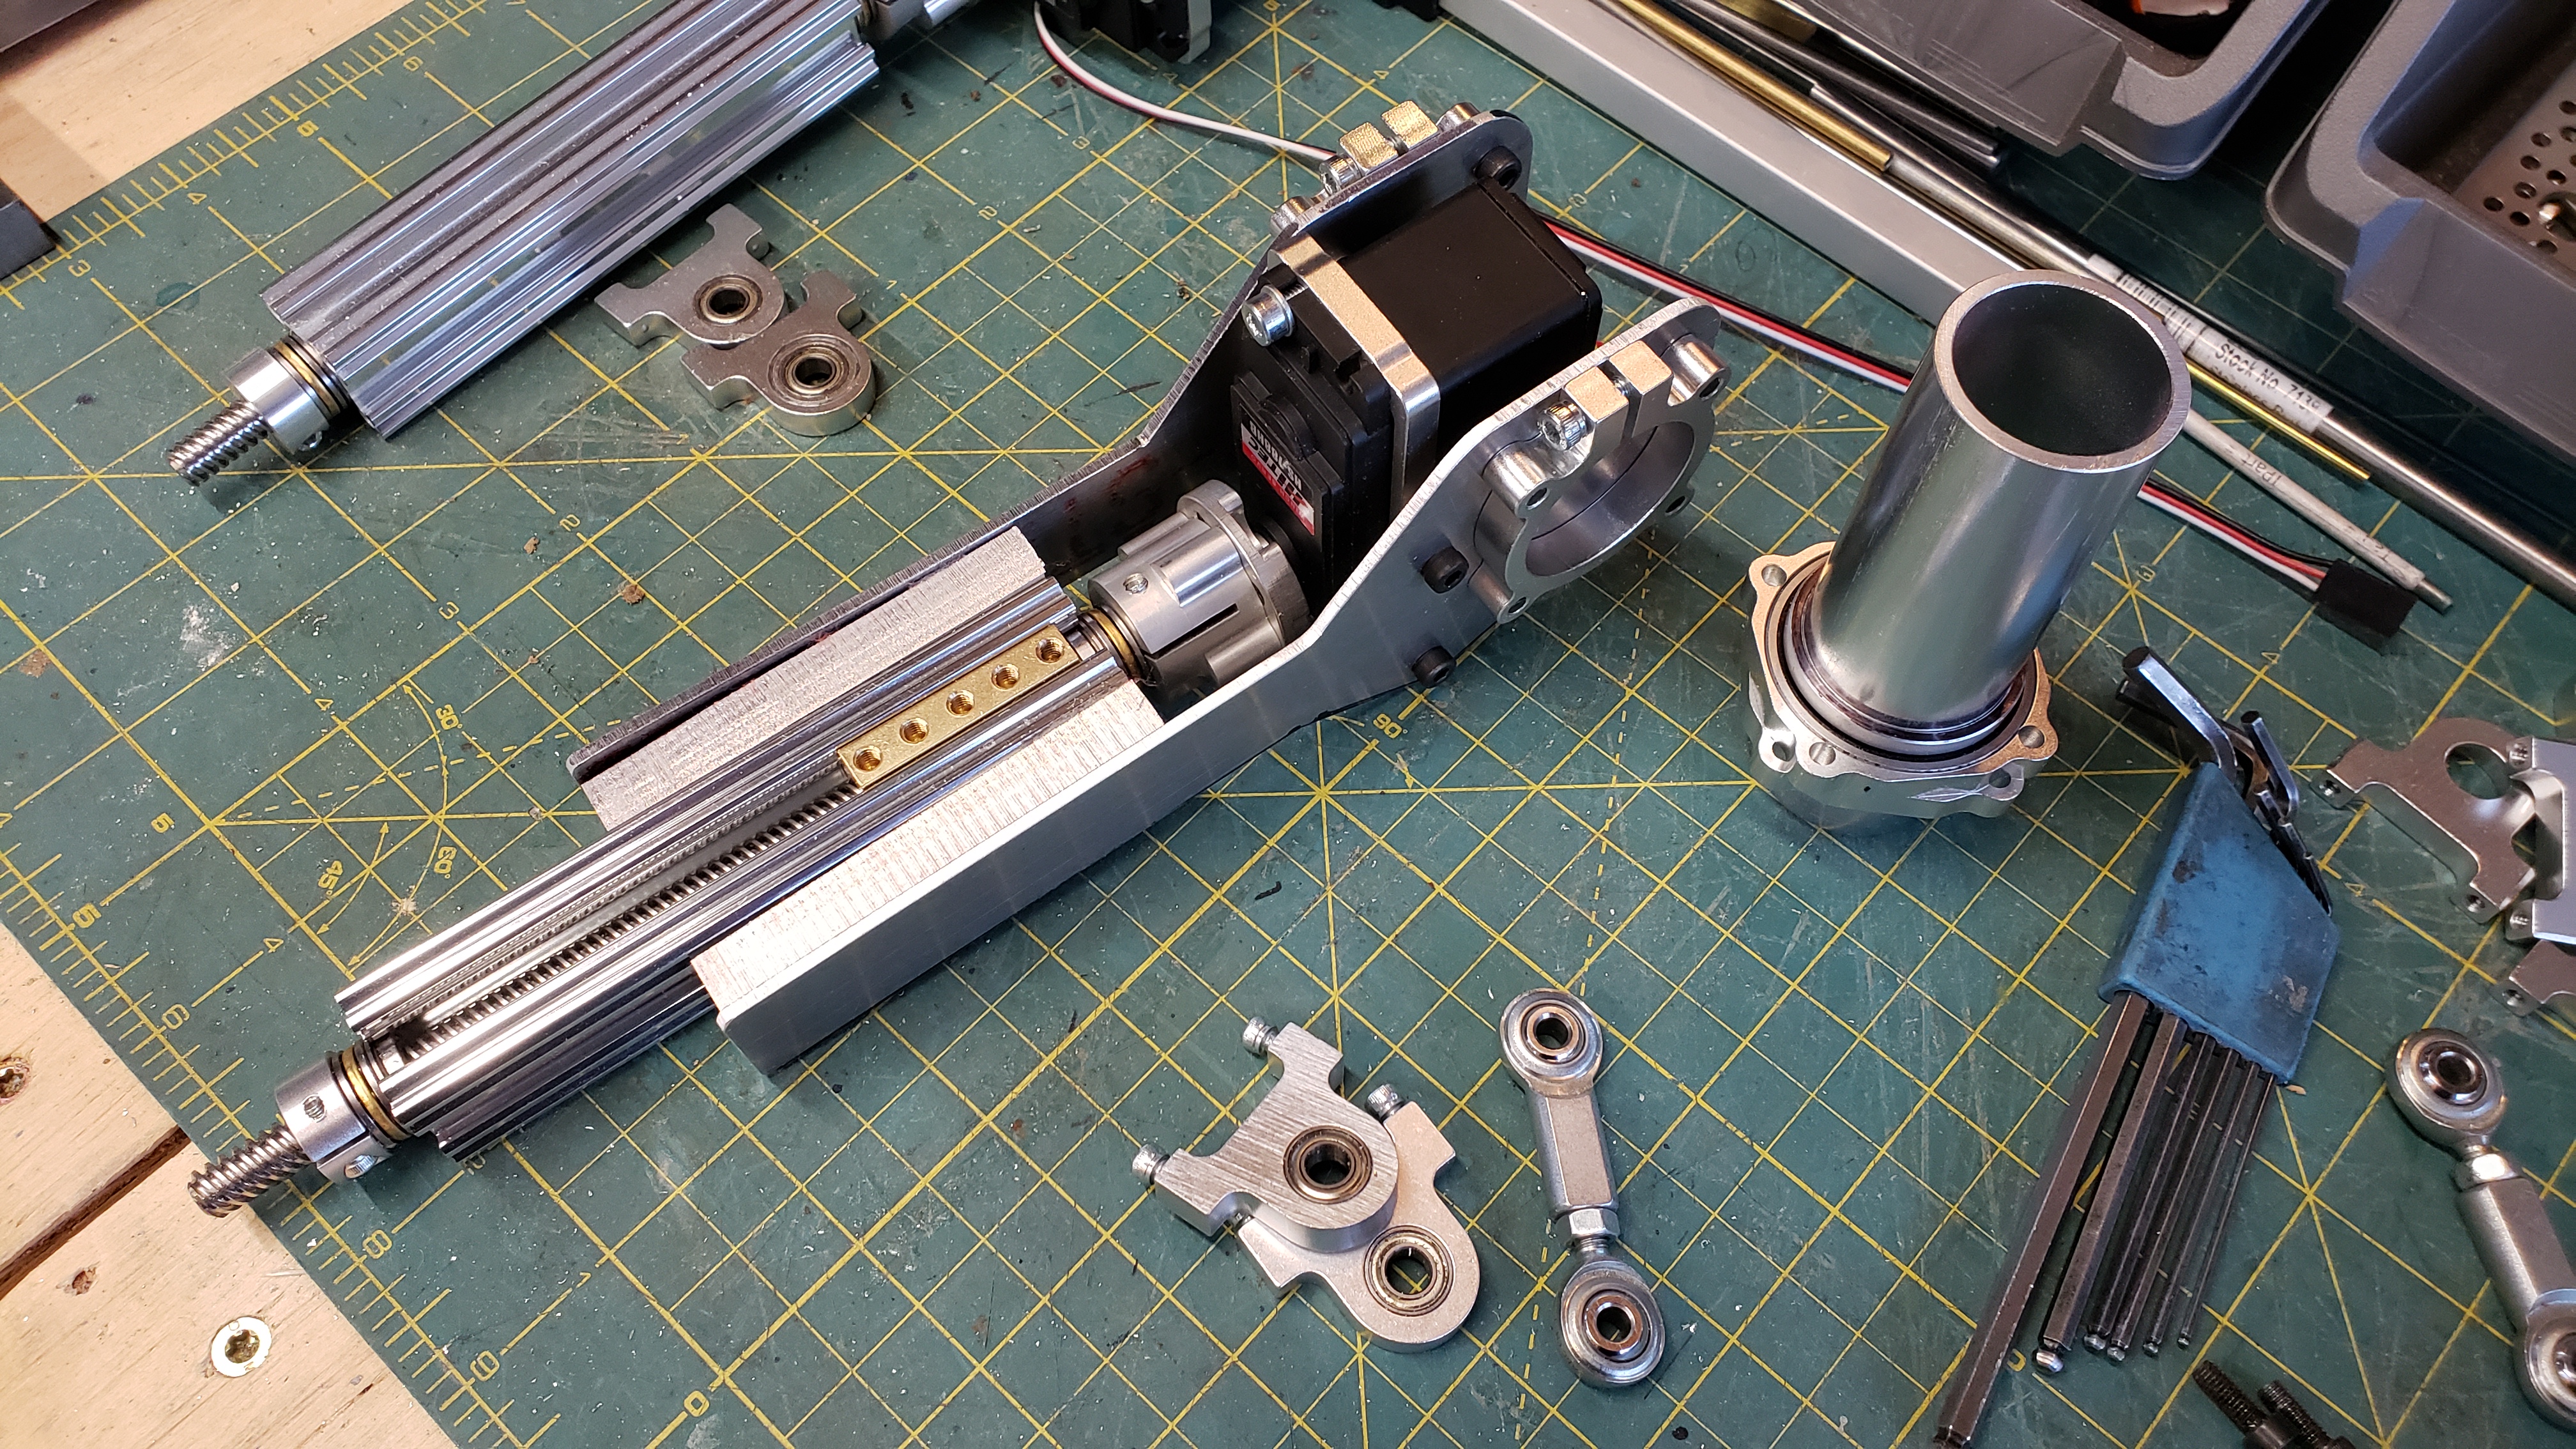
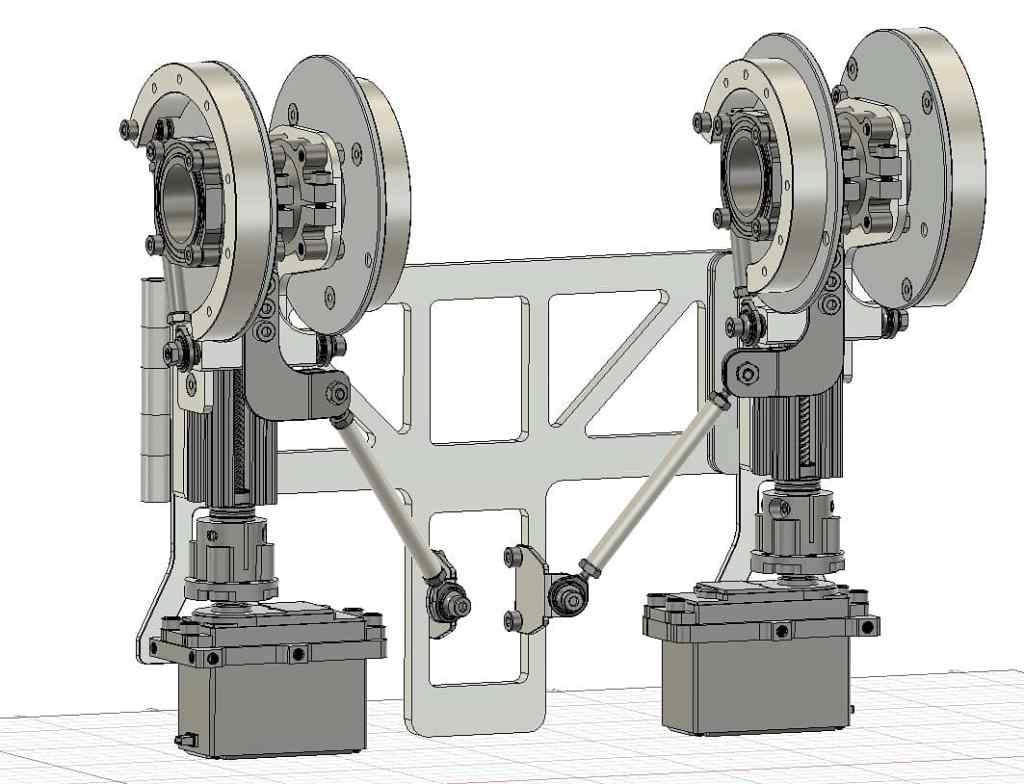
Previous two stage disaster linear cable drive setup-


Finished projects
Animatronic four wing mechanism (2020)
This was a tricky job to figure out as I had to build a really compact mechanism that could move four separate wings in an upward/folding motion. The trick was making it work using a single servo. The mechanism is small enough to fit in my outstretched hand- the backplate measures about 7″ across. The wings are polycarbonate and span is about 62″. Overall I’m pretty happy with how compact it is and that I can get this range of motion using a single servo. This was made entirely by eye using home made manual tools- I don’t think I even did any accurate drawings!
Now that I have a small CNC mill, I’ve thought of redesigning this in CAD in order to make it smaller, lighter, and faster. The overall quality would be much higher too.
There’s a full tutorial on Instructables.

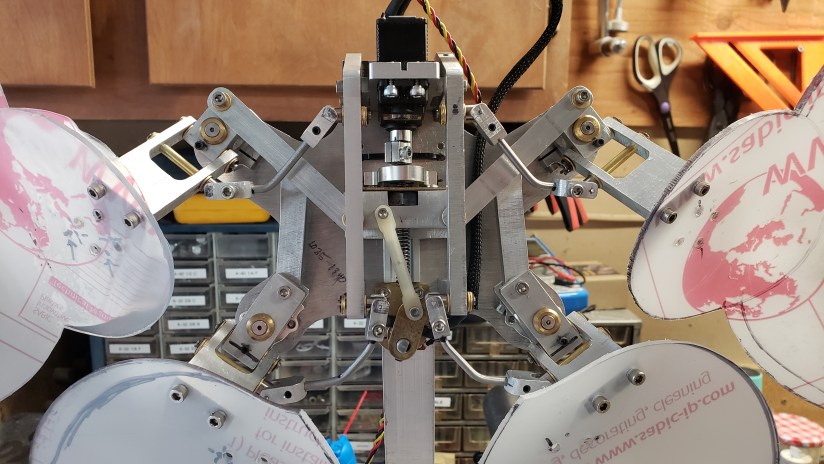
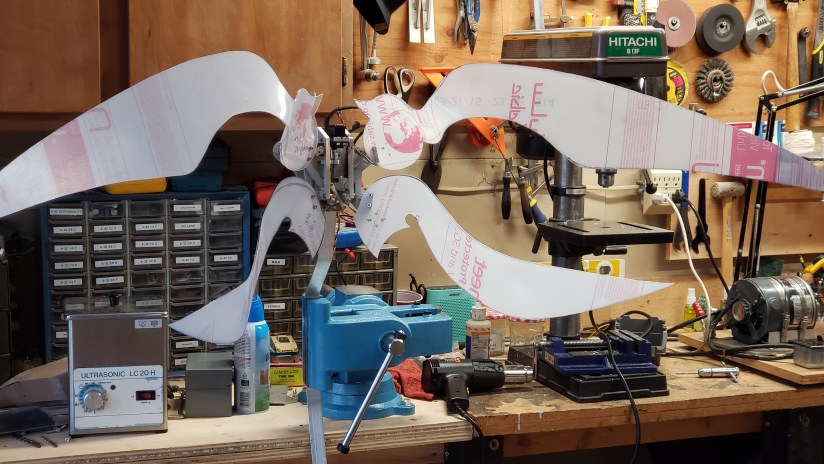


Pretty neat being able to move four wings this size with a single servo on just 4.8V (it’ll be much faster on 7.2V using a high helix lead screw)
Test video with wings mounted-
Close up video of the mechanism working-
Stargate Horus helmet (2016)
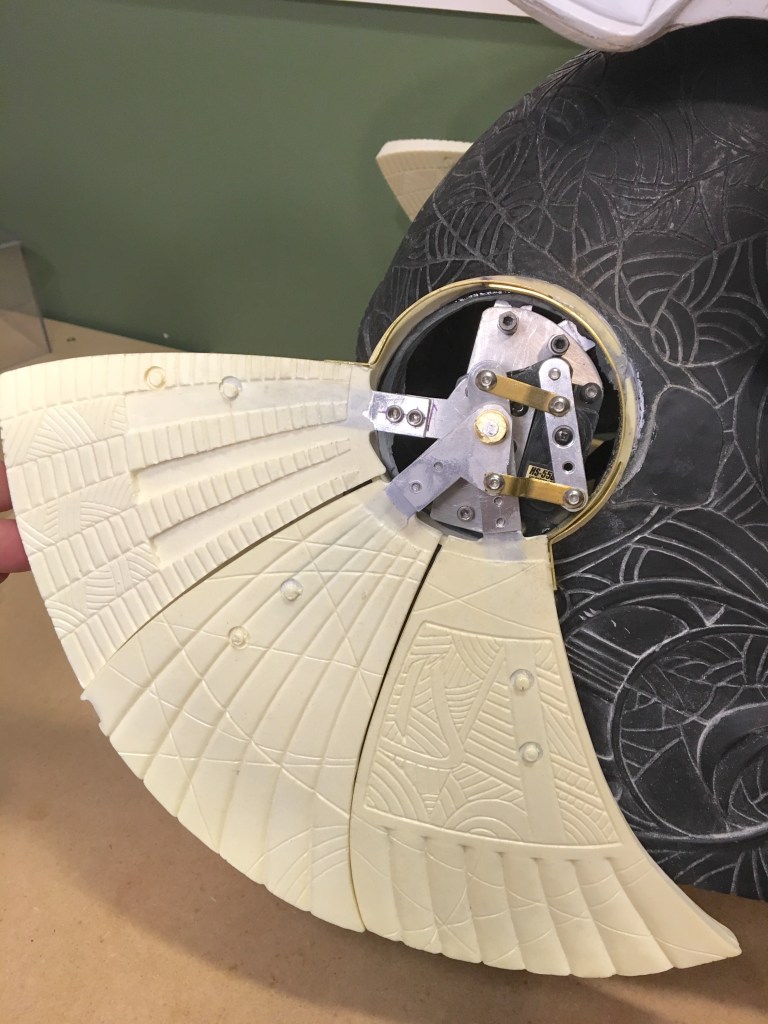
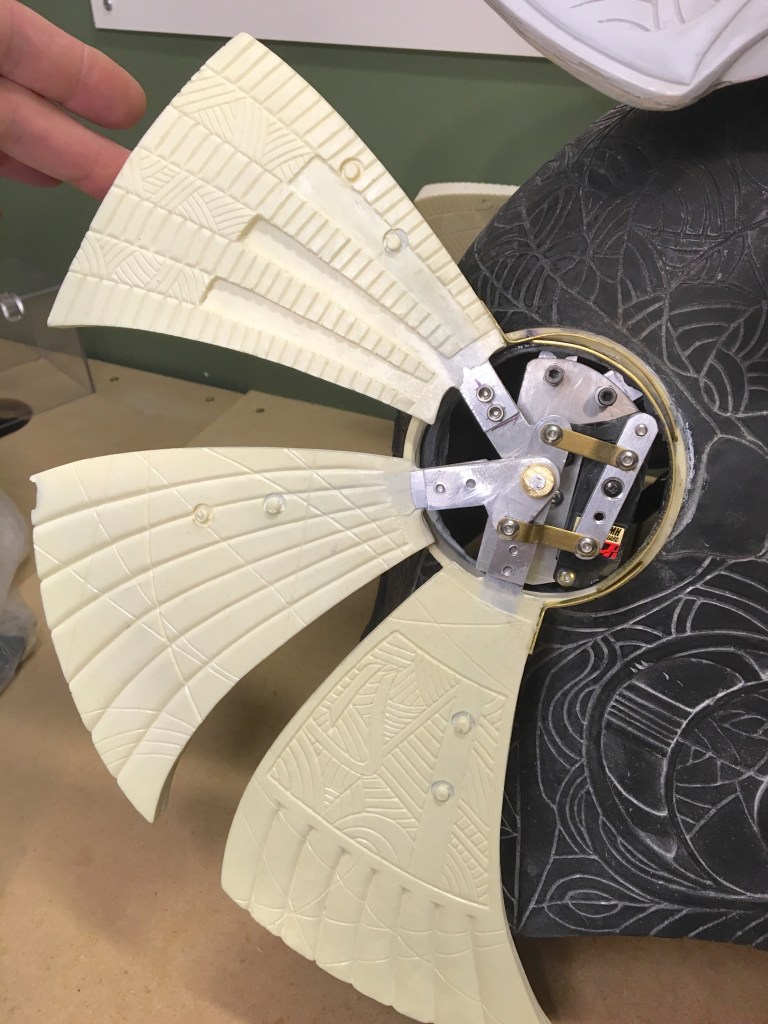
This build was a special project I did for a friend. I didn’t make the helmet castings- I just made it move. I will say that the helmet that was sent to me is one of the most gorgeous movie prop replicas I’ve ever seen- the first photo shows a painted mock up helmet. It’s an absolutely stunning piece and it’s dead on accurate (the fiberglass castings were made from an original film helmet.) Although it is a display piece it is wearable just like the movie helmets.
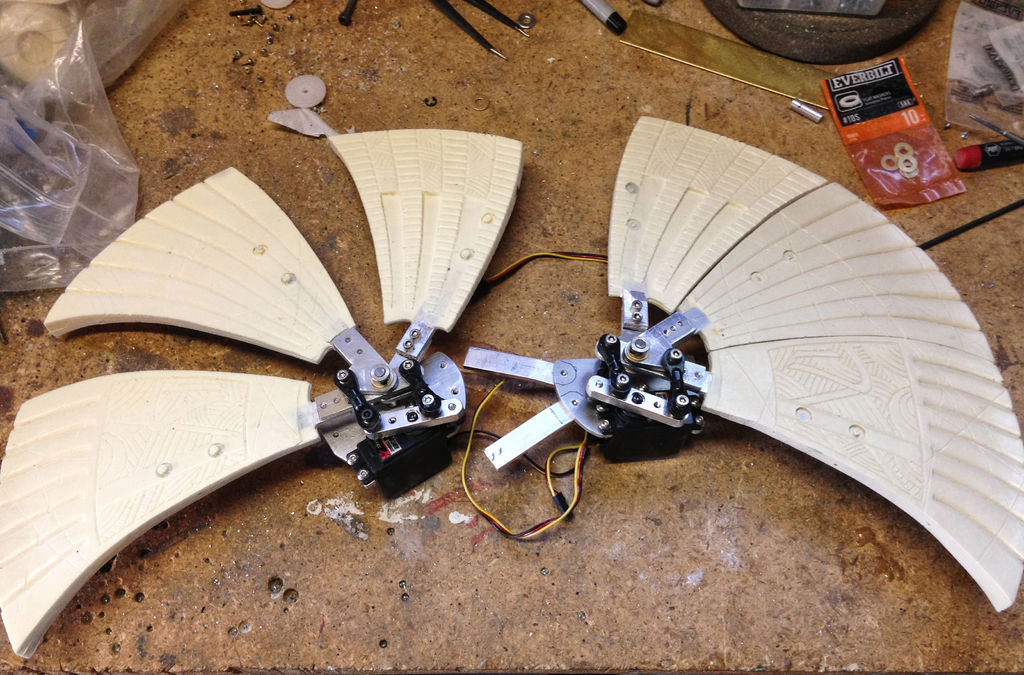
The helmet has moving head, light up eyes (dimmable), opening eye iris and properly moving fans. Everything is radio control just like the original movie helmets (the eye dimming is controlled by an Arduino tied into the radio receiver.) All of the mechanics were made by hand using basic tools. This was a really exciting project and I’m thrilled to have had the opportunity to work on it.
Full build on Instructables and Hackaday.
View as a .pdf file here- Stargate-Helmet-Animatronics




Animatronic Predator cannons (2007-2014)
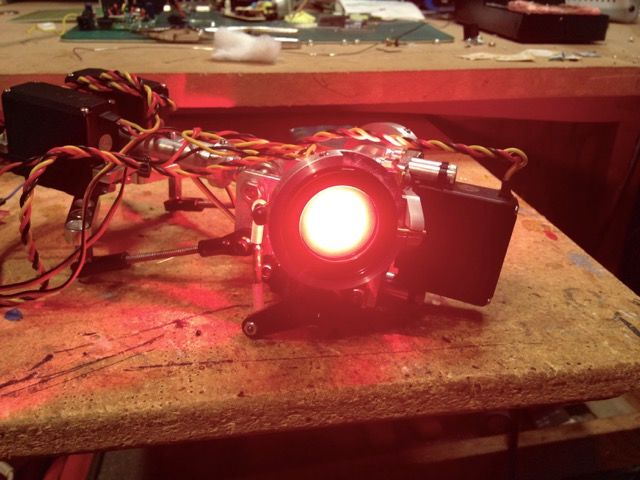
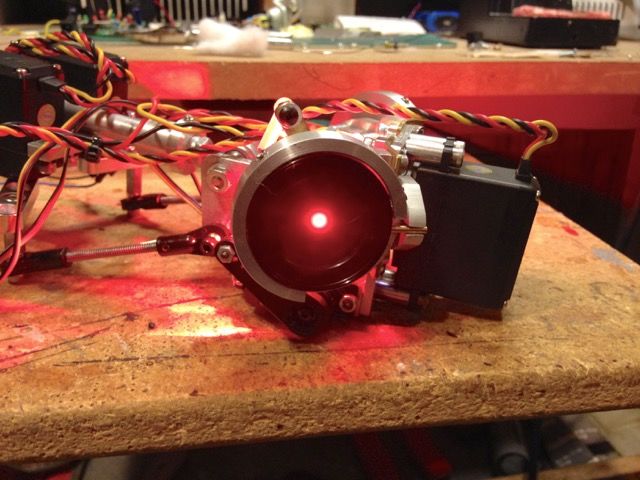
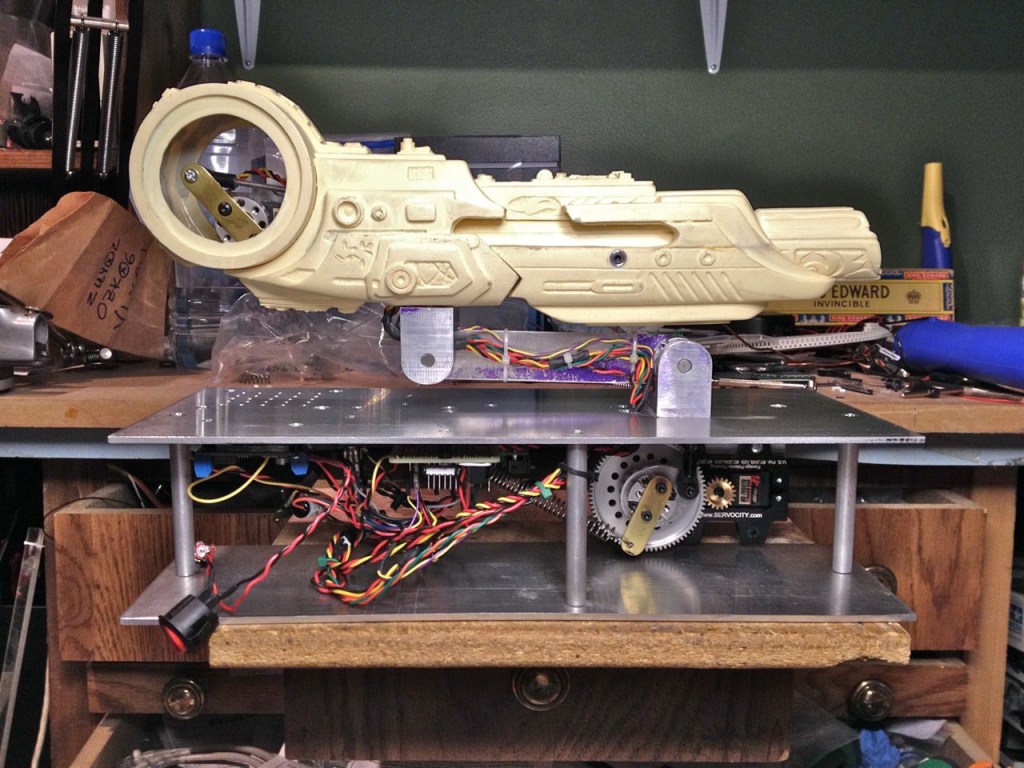
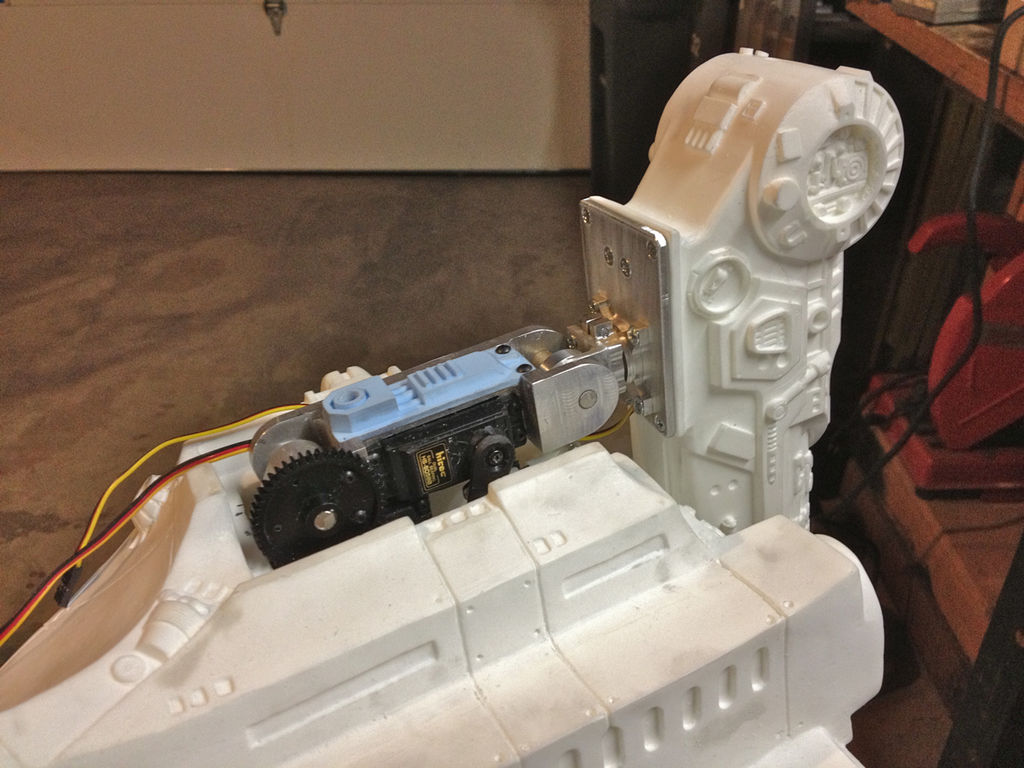
I’ve built animatronics for several Predator cannons. The big AVP cannon seen here was for a friend that wanted to animate a display piece for his son. When a person walks by the ultrasonic sensor triggers the motion- the cannon raises, powers up, laser sight turns on, cannon fires several times (with recoil action) and then lowers back down and powers down.
The P1 cannon mechanism was built for the Monsterpalooza Predator anniversary panel/Jamie Hall suit up/tribute with the original Stan Winston Studios film crew. This cannon was an embedded controller push button rig that ran through a pre programmed motion sequence.
The last video shows the first cannon mechanism I built back in 2007. It was an accelerometer based head tracking system. Ideally I would have preferred to use a dual IMU (inertial measurement unit) setup but IMU’s at the time were still fairly large, expensive, and did not have on board processing. The tricky part of this cannon mech is that everything had to be self contained within the costume (no radio) and entirely character operated- one button would power the system on (with laser sight) and raise the cannon into firing position and a second button would fire the cannon. Today the head tracking could be done using something like an inexpensive BKRC FPV R/C wireless head tracking module.
AVP cannon build on Hackaday.
Monsterpalooza P1 build on Instructables. View as a .pdf file here- Building-a-killer-Predator-costume
Head tracking cannon on Instructables.


The finished suit at the Predator 25th anniversary panel at Monsterpalooza

Iron Man Mk III suit (2012-2013)
This was a big project. My friend Greg from the Replica Prop Forum wanted to add animatronics to his Iron Man MkIII fiberglass suit (purchased from another RPF member) so we went all out. After considering several options I built an Arduino based system using RFID tags in the gloves to trigger the shoulder rocket pods, hip flare pods, forearm missile, back flaps and helmet. The helmet has wireless control via XBee radios. The boots light up and make sound while walking by using a PIR sensor in the boot to trigger the effect.
Given the time that this was built and of course knowing what I know now, I’d do things very, very differently- the technology has changed drastically since back then and when it was built I did not have access to the entire suit (I had to work on it piecemeal as individual suit pieces were delivered from the suit caster.)
It definitely looks extremely sketchy today but I’m still very proud of it as this was one of the very first full animatronic fan made Iron Man suits and we were very much in unchartered waters. The photos show the suit during installation of the animatronics- it was to get a refit and new paint job after work was done.
There is a complete build tutorial on Instructables and Hackaday.
View as a .pdf file here- Animatronic-Iron-Man-Mk-III-suit


Iron Man MkIV helmet (2013)
A project for my friend Thomas of Hollywood Hardware. He wanted to animate his MkIV display helmet using push button control with a specific movement/light sequence.
Animatronics controller board (2010)
I made a neat little wireless animatronics/servo controller board using an Arduino Pro Mini with a socketed XBee radio in a custom PCB. This was designed to accept multiple sensor inputs to be used as function triggers/control inputs. This also works really well as a sensor node for wireless data acquisition (with 3.3V based sensors.) If I was to redesign this I would probably use an ARM Cortex M4 or similar based board for the additional processing power/data throughput as the low voltage Pro Mini cannot handle multiple sensors at high frequencies.
Full write up with lots of code examples on Instructables.
View as a .pdf file here- Arduino-animatronics-make-your-awesome-costumes-m

DIY Animatronics video series (2015-2017)
A short series of videos intended to help costumers integrate animatronics into their costumes. Embedded electronics have changed a LOT since these videos were published.
Air muscles (2008)
Air muscles are very powerful actuators that work very similar to a human muscle and have a phenomenal strength to weight ratio- they can exert a pulling force up to 400 times their own weight. They will work when twisted or bent and can work under water. They’re also easy and cheap to make!
Tutorial on Instructables.
View as a .pdf file here- How-to-make-air-muscles


Ben Krasnow of Applied Science (a fantastic YouTube channel) made a cool force feedback joystick using the info in the instructable. Neat!

